- TOSIZE.ie
- Do it yourself
- DIY Projects
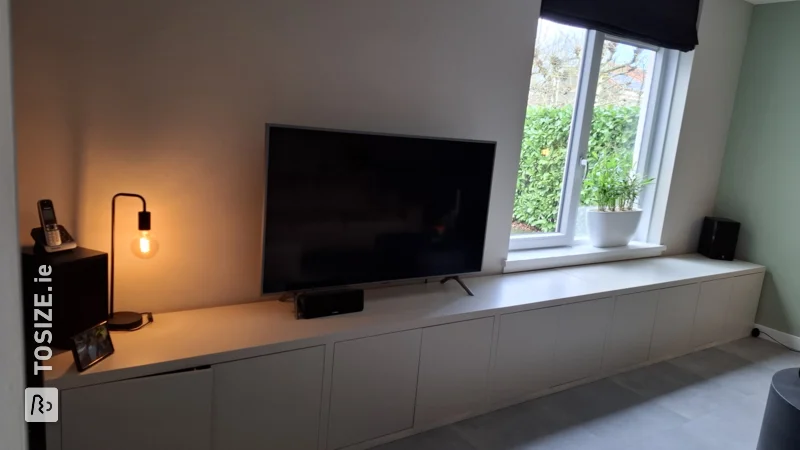
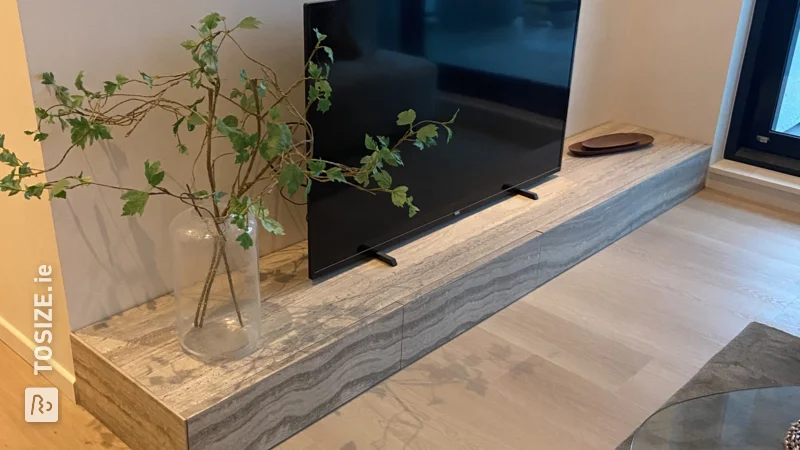
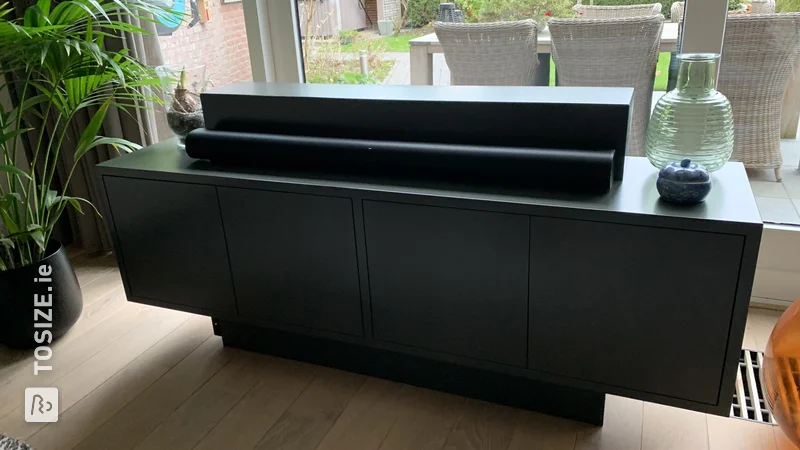
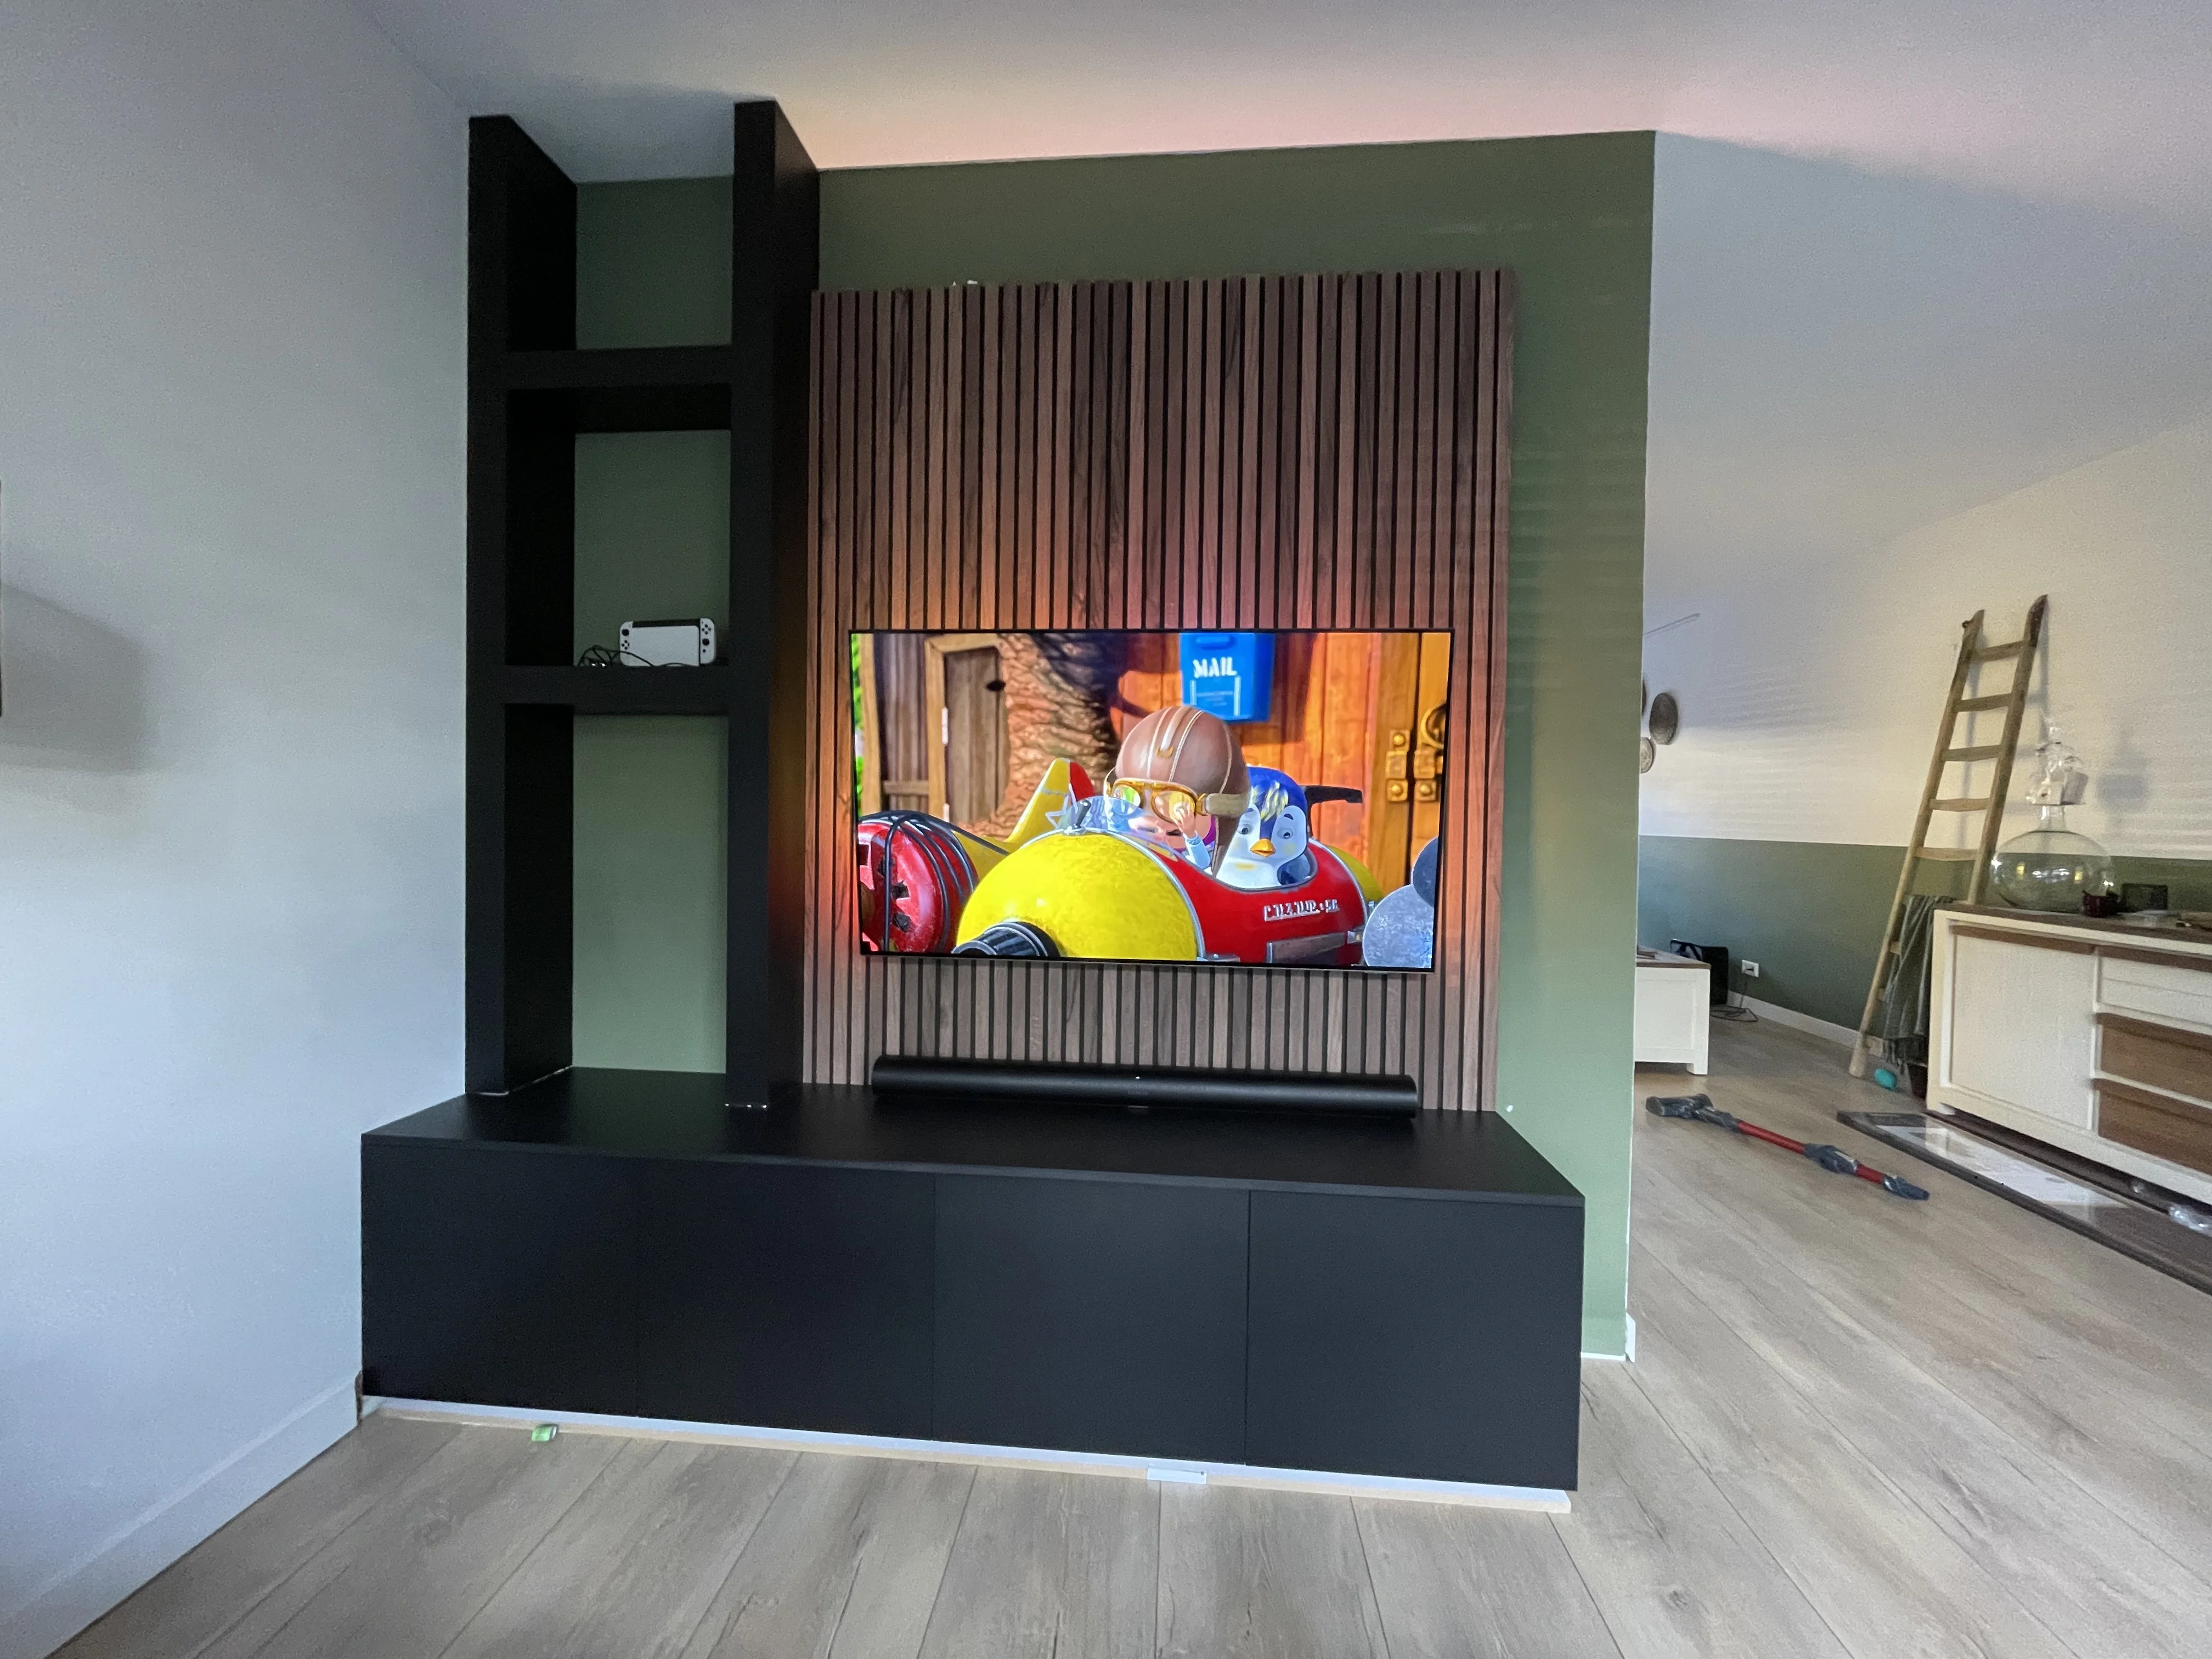
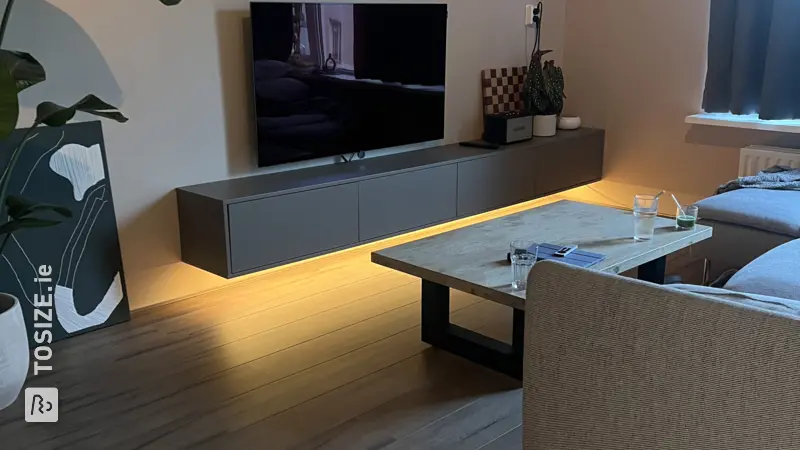
A sleek homemade TV cabinet made to measure from MDF, by Gert-Jan


Create this project yourself with sheet material cut to size by TOSIZE.ie!
Gertjan
Above average
2 minutes
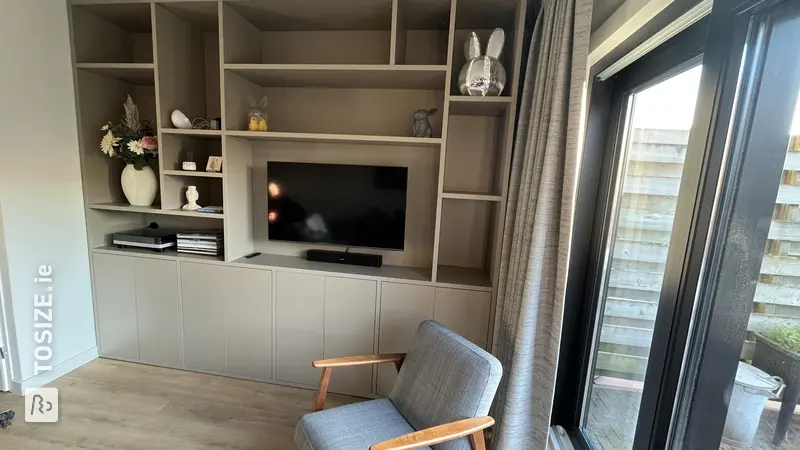
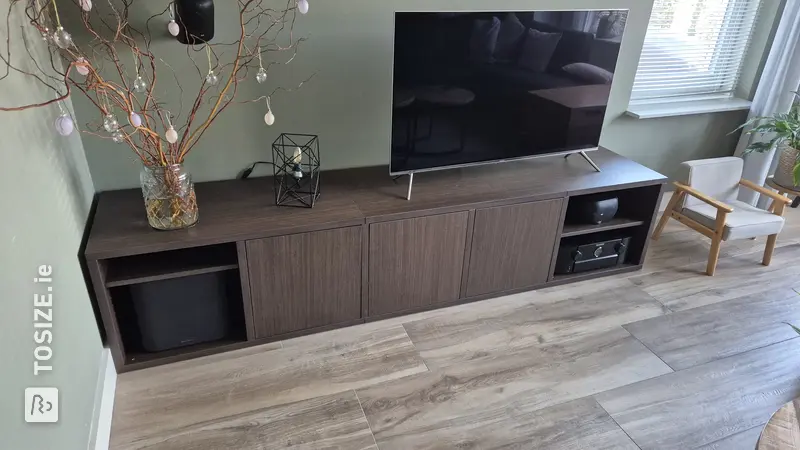
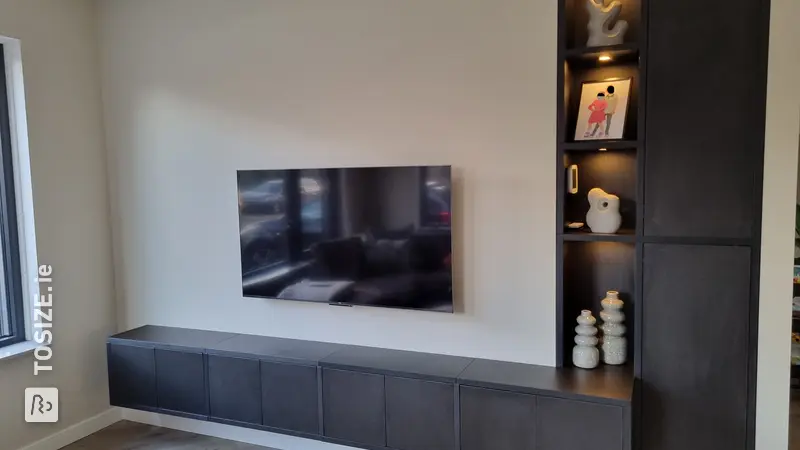
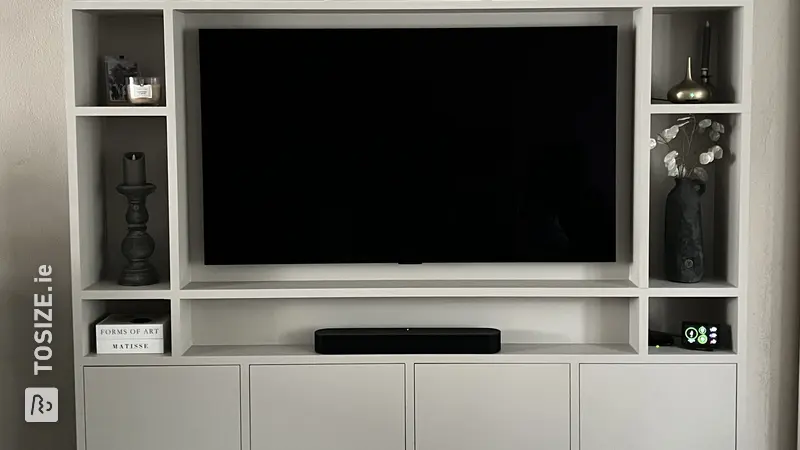
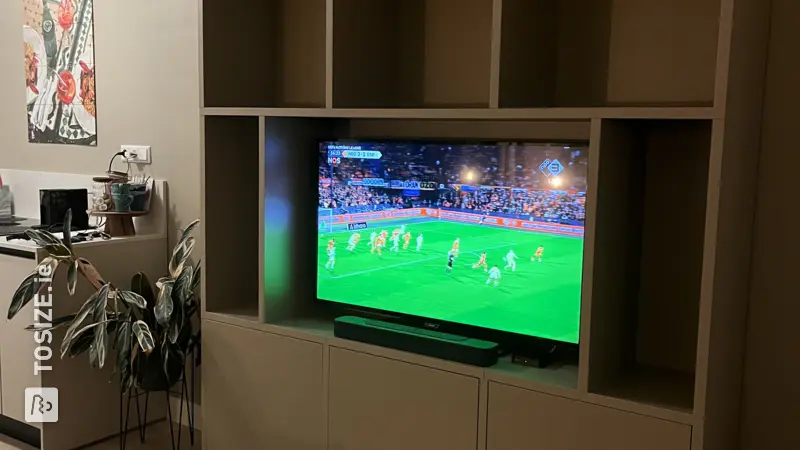
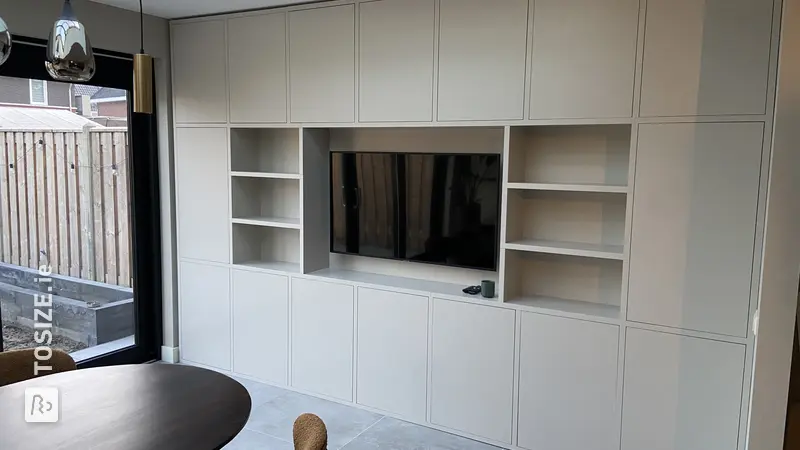
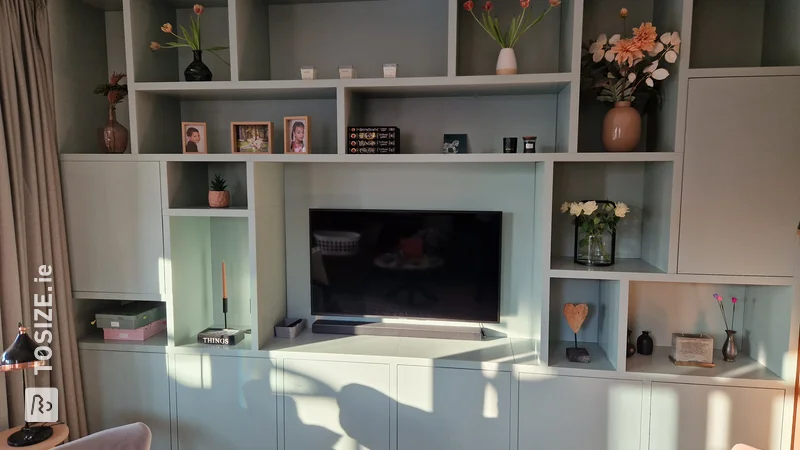
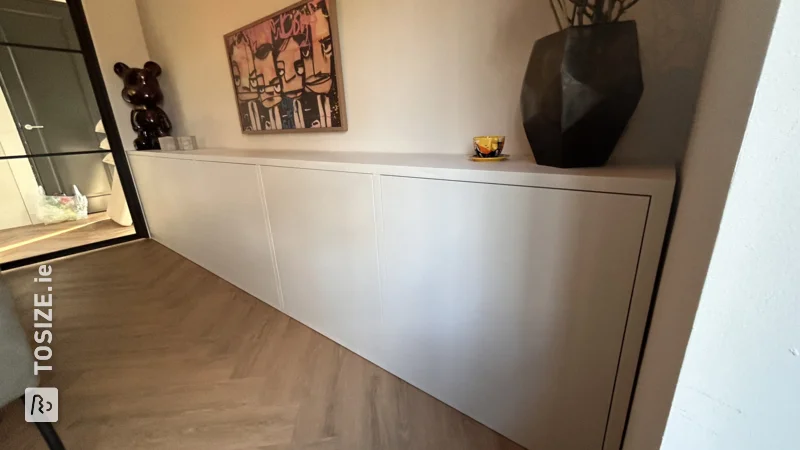
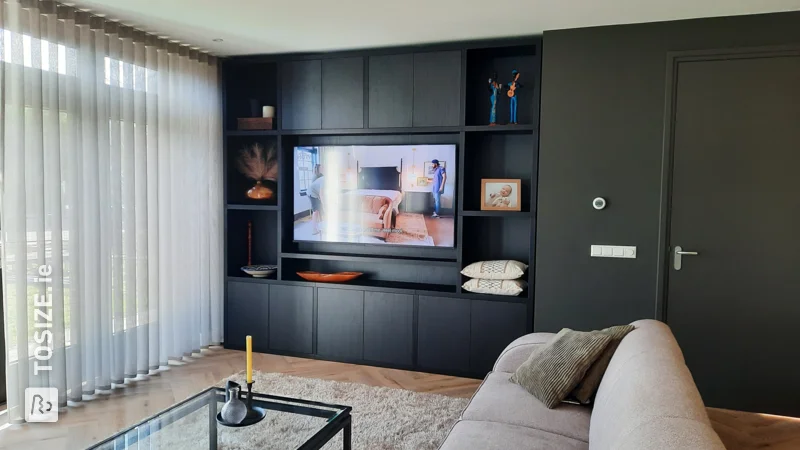
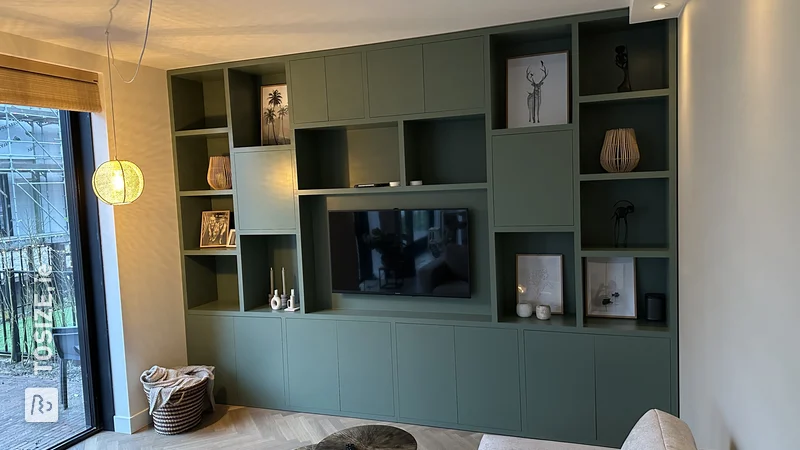
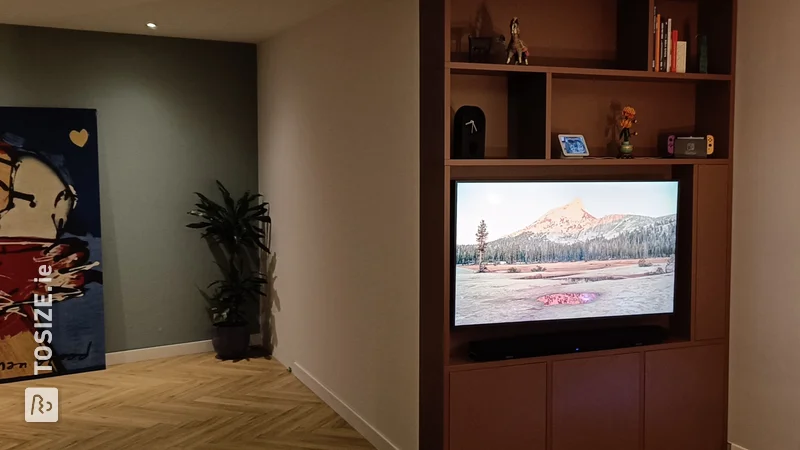
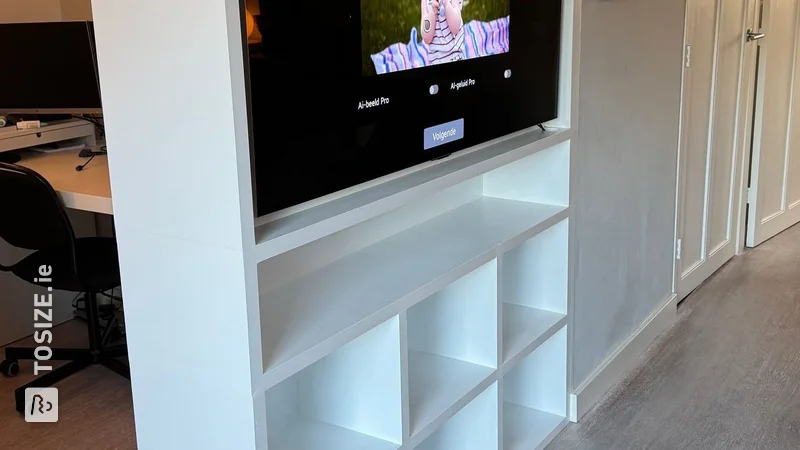
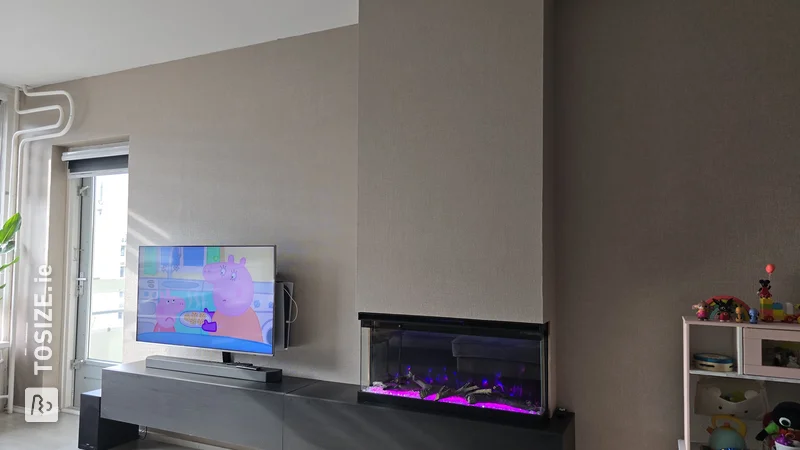
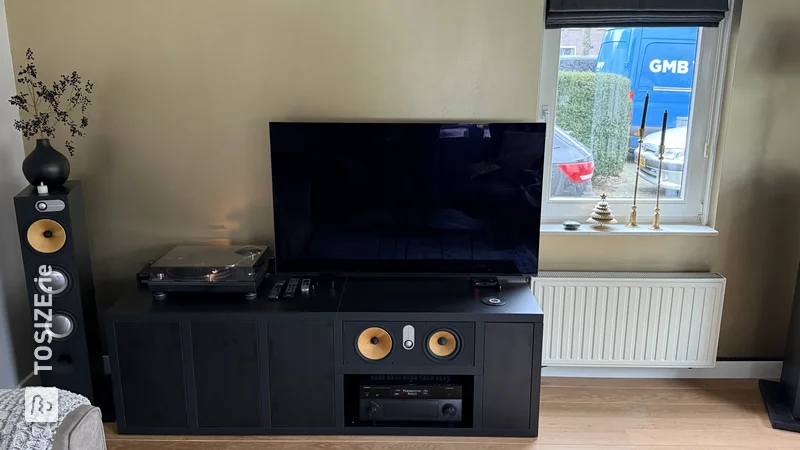
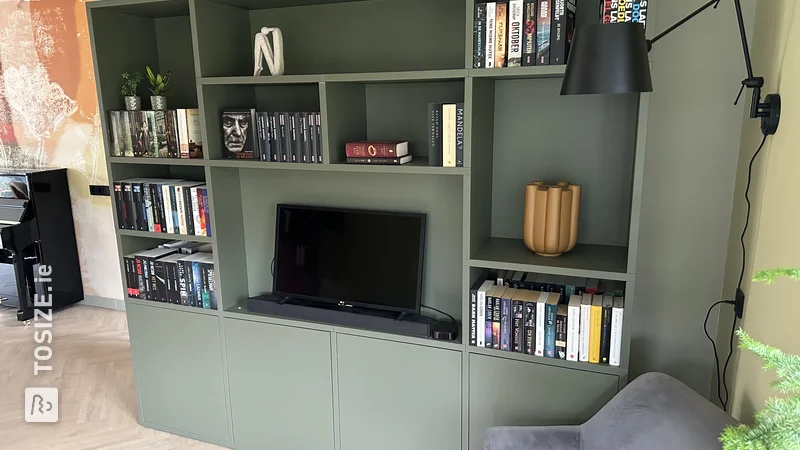
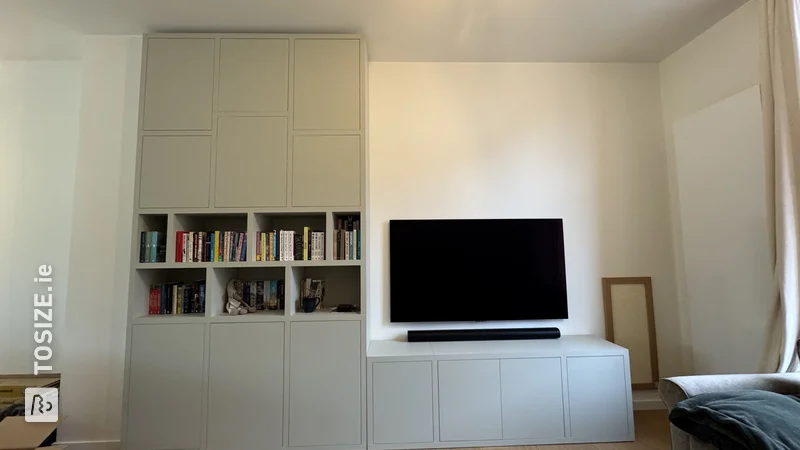
In this DIY project, Gert-Jan shows how he made a sleek TV cabinet himself. For this job he chose MDF lacquer carrier film. This saves time when final painting. He ordered the sawing work online. By choosing miter (which is possible on MDF) you get nice, tight connections.
Description by Gert-Jan
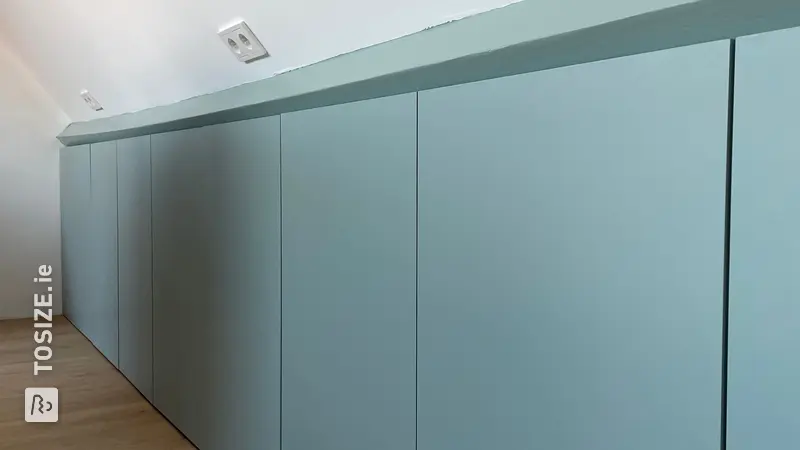
TV furniture made of MDF (18mm) with lacquer carrier film. Includes cable holes in the top, bottom and back. Left and right a folding hatch with pressure catch and soft close. Made to stand on a frame/legs as well as to hang.
How I made this project
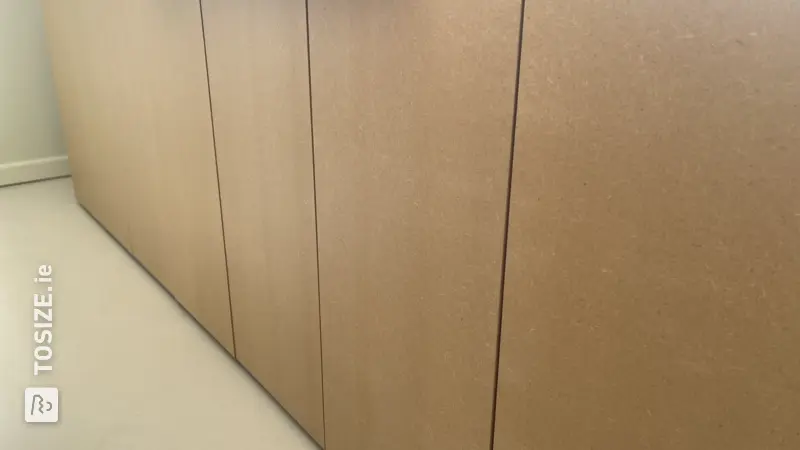
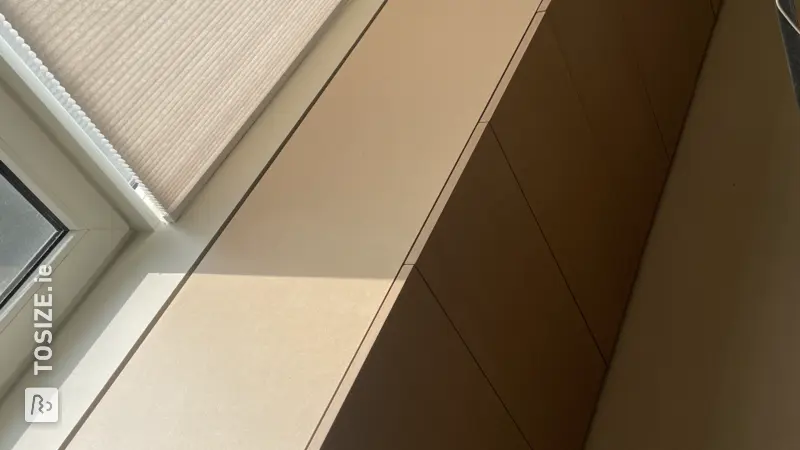
After measuring the space, I opted for a length of 220cm. The length is divided into three parts, for 2 cabinets and 1 open part. For the outside, it was decided to have everything mitered for the smoothest possible end result. All visible ends neatly finished. First sand 180 grit, prime, sand again 180, 240, prime. An extra layer of primer on the less attractive parts or the mitered parts. Drilled all holes for shelves. With a view to the future, three possible heights for the shelves. Cable holes milled. Because I do not have a router, I chose to first cut the holes roughly with a jigsaw and finish them neatly with a dremel. 1 cable hole in the middle of the top, 3 holes in the bottom (1 per part) and 2 larger holes in the back (in the cabinets), a small hole in both partitions. Drilled the holes for the hinge in the cabinet doors. All planks have lamella connections. After all the preliminary work it was time to paint. Chosen for a dark olive green (apache). I intended to paint the inside with a (foam) roller and spray all the outsides. But the result with the roller was so smooth that I left the paint sprayer in the cage. I gave the inside 2 coats and the outside 3. I roughened it with Scotch Brite between coats and made it well dust-free. For assembly I used slats in combination with non-effervescent construction glue. Everything glued plank by plank and held in place with weights or tension straps.
Dimensions of my DIY project
220.0 x 38.0 x 30.0 cm (LxWxH).
Tip! Also check out our handy DIY tips!
What now?
Want to make this DIY project? Check out Gertjan's saw list and complete your order easily.
€ 360,97
View all sheet materials






.webp)
