Professional chamfering of wood and sheet material
Make your job even easier by finishing the edges with the desired edge finishes. Choose from the finish: bevel or rounding. In this blog article, we dive deeper into the ‘chamfer’ edge finish and tell you why you could go for this sleek edge finish!
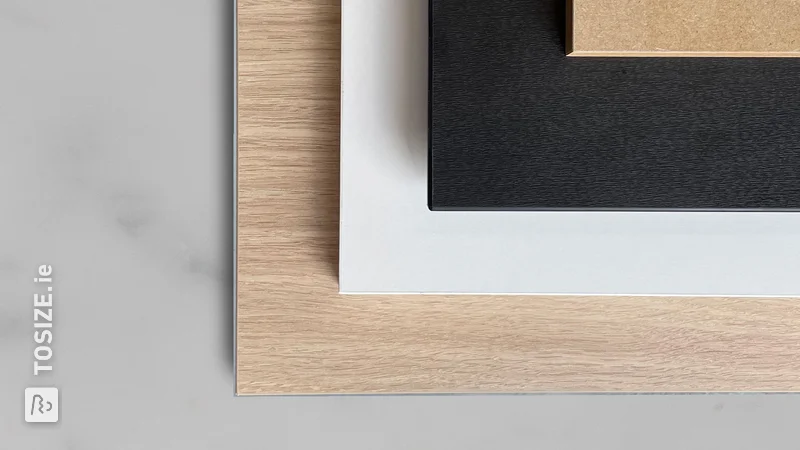
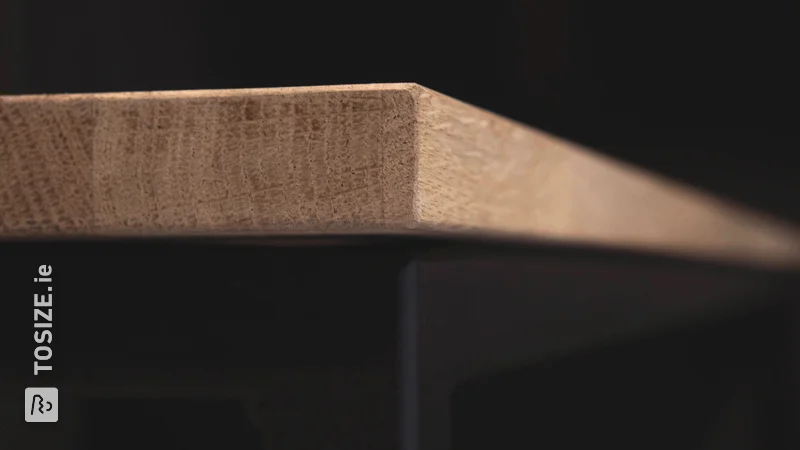
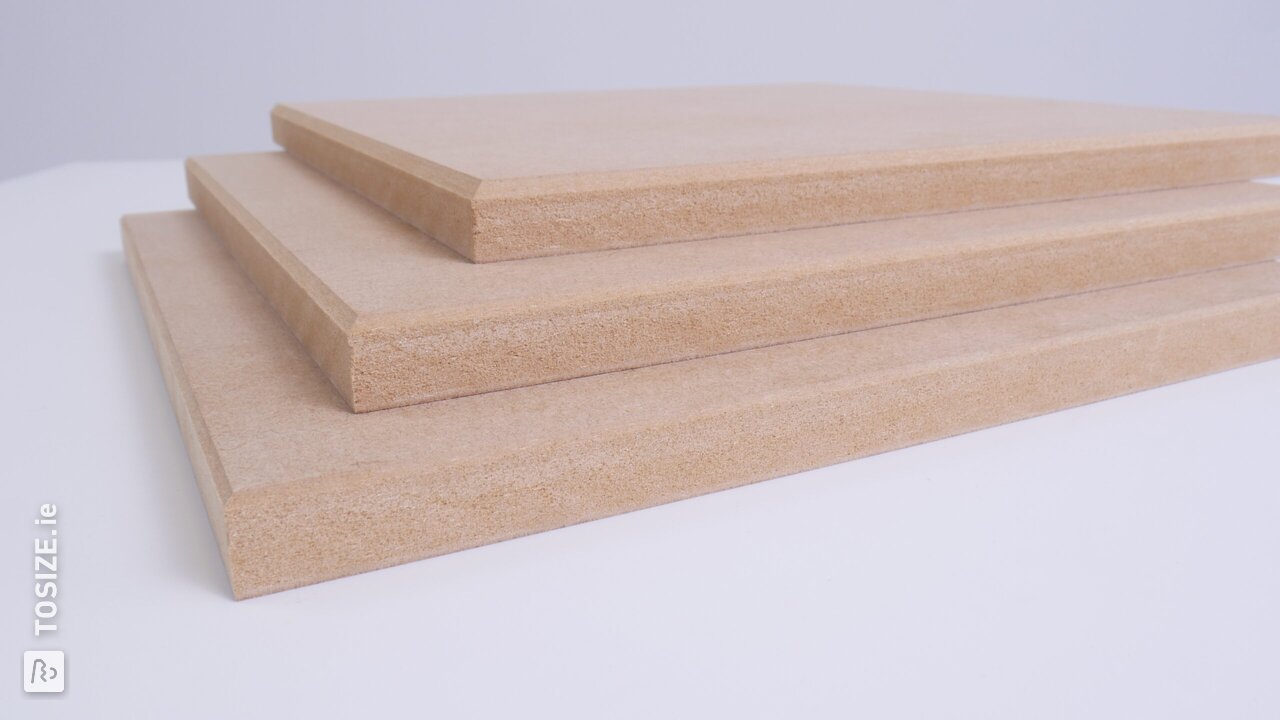
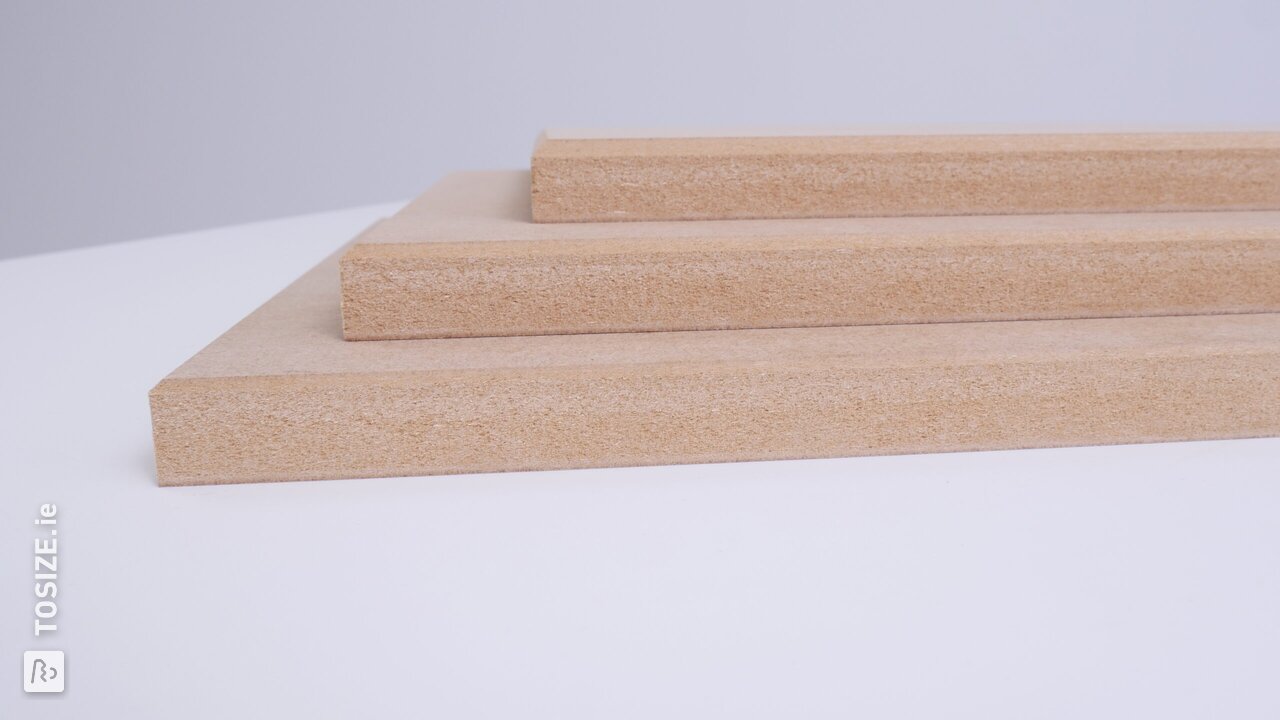
The ‘chamfer’ edge finish creates a sleek, modern edge. The edge of the sheet material is worked with a router. When we talk about edge bevelling, we mean creating a tight edge that makes the material feel less sharp. Chamfering is possible on sheet material with a minimum thickness of 4 mm.
In this article, you will find various examples from other creative handymen and an explanation of the possibilities. We explain when to choose this edging and when not to.
When do you choose to bevel your edges?
Chamfering offers a nice solution for various projects, but for some it is less relevant and you only apply it when your project really requires it. For example, it is ideal for the sheet materials listed below:
But not so on board materials with a hpl-, veneer-, phenolic resin- or melamine top layer, for example concreteplex and plywood. If you choose to chamfer one of these board materials, bear in mind that the top layer will be damaged by the router.
Protect your sheet material well!
The bevel cutter mills a corner of the edge of your sheet material. This leaves the edge 'open'. Work your panel material carefully by sanding it with a fine grain after sanding and finishing with a varnish or clear varnish. This way you can enjoy your board material the longest!
Chamfering the finish
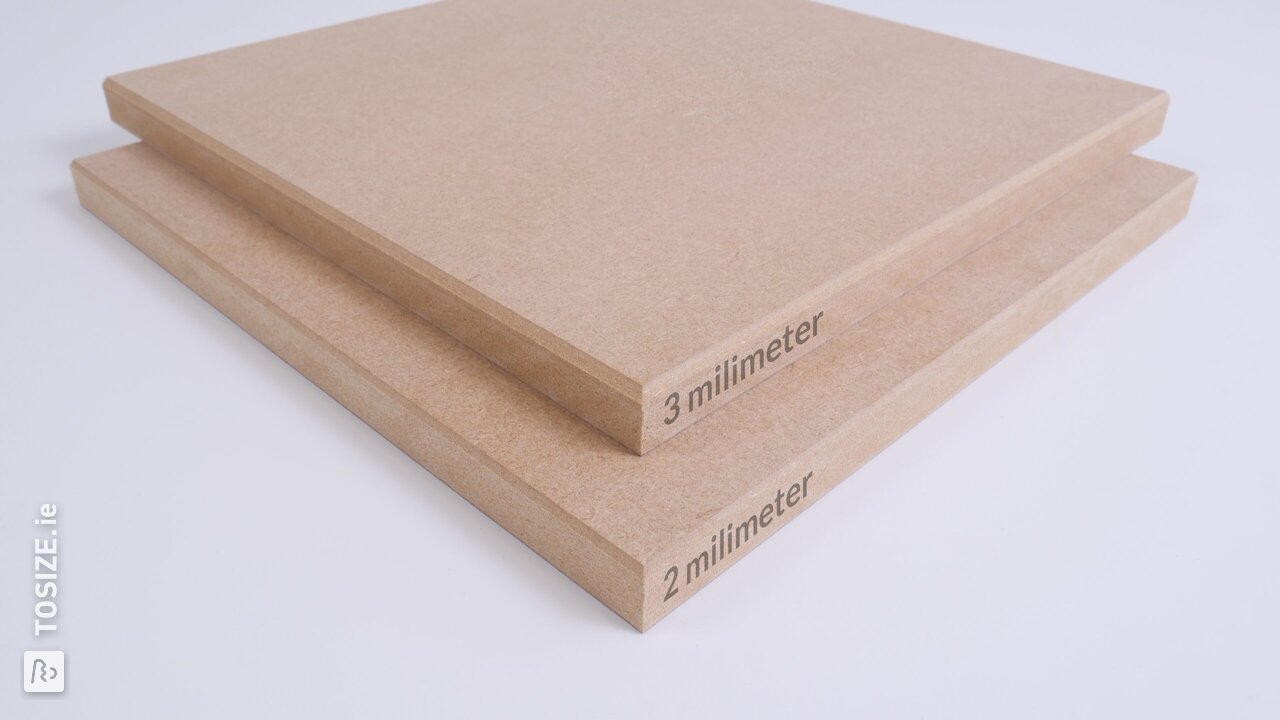
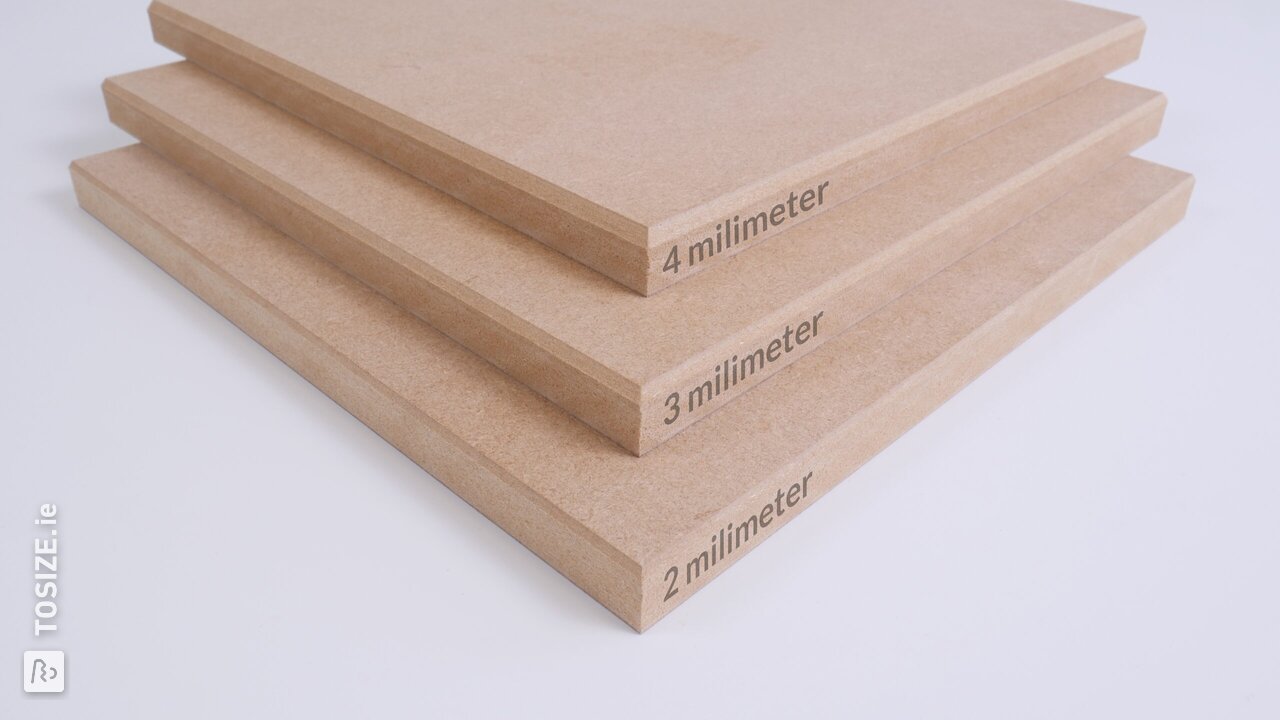
If you want to bevel the sheet material, you have several possibilities in terms of depth. The bevelling of your sheet material starts from a depth of 2 mm. The depths you can choose are 2 mm, 3 mm and 4 mm.
Which depth is suitable for my project?
When entering the chamfer finish, take the quantity into account. If you have a sheet 6 mm thick and choose a 2 mm chamfer, then the chamfer will reach approximately 1/3 of your sheet. If you have a sheet 18 mm thick, then a 2 mm chamfer is a small detail. Keep this tip in mind when ordering your made-to-measure sheet material!
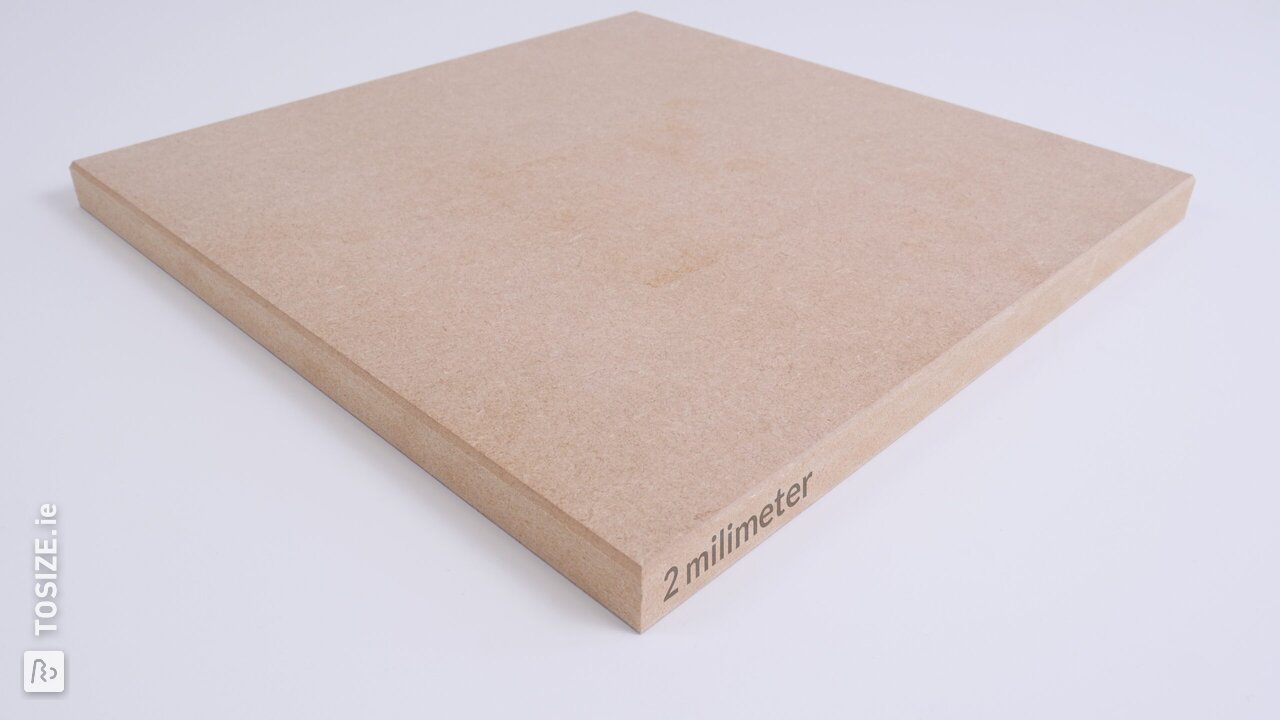
Chamfer the edges 2 mm
A 2 mm edge trim takes the edge off. Useful, for example, to apply to:
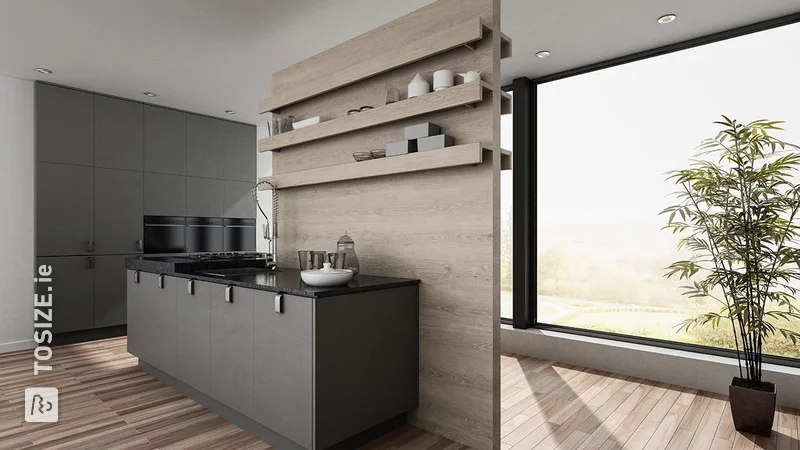
- (Kitchen) doors - usually 18 mm thick
- Shelves - usually 18 mm thick
Order your plate material with a clean sloping edge directly using the button below. Or check out the other possibilities and examples below.
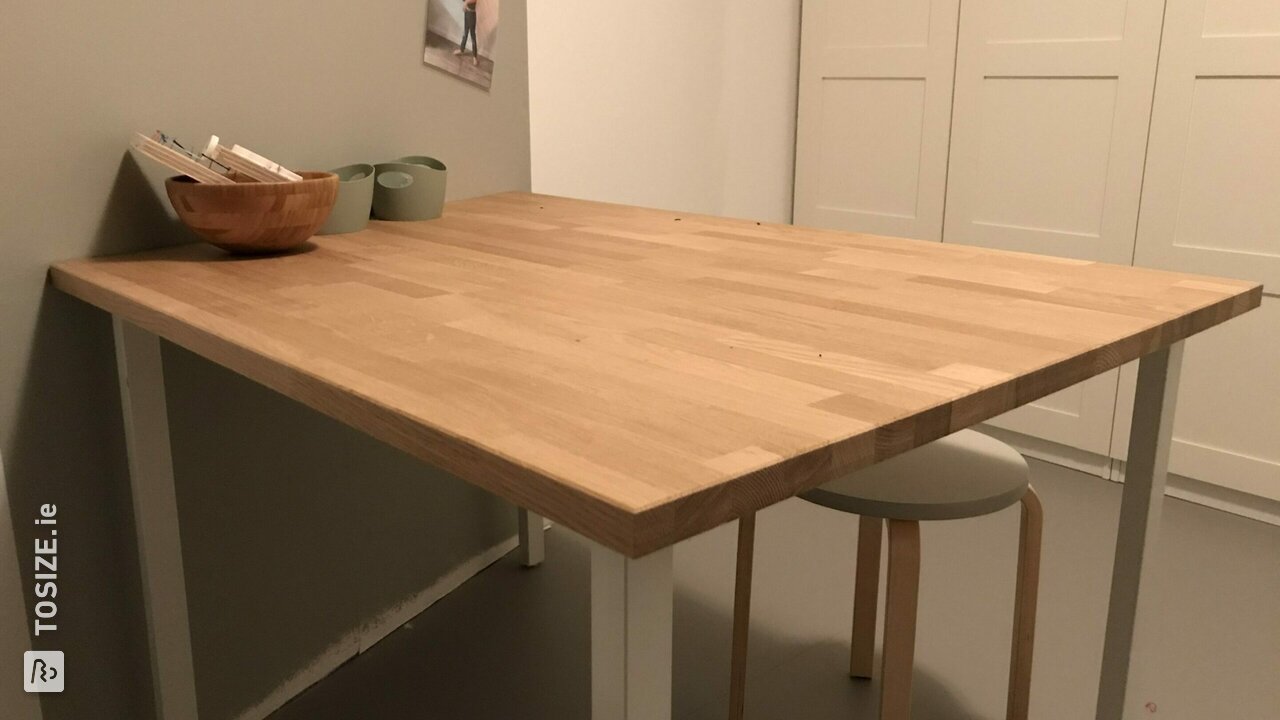
Chamfer edges 3 mm
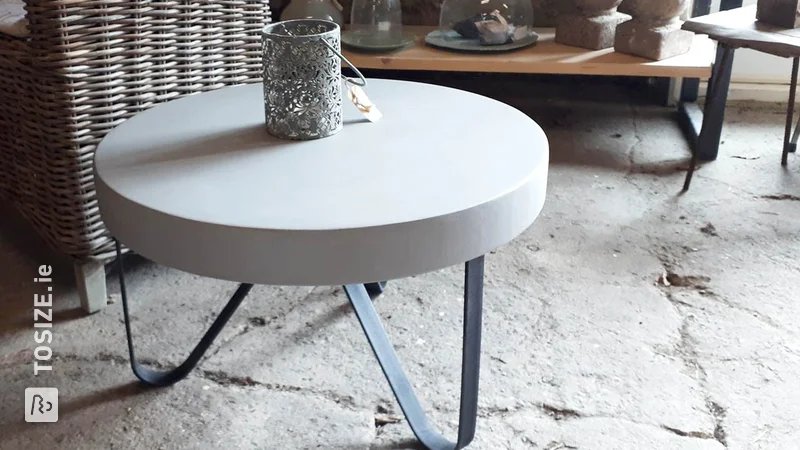
A 3 mm edge trim gives a tight result. Useful, for example, on:
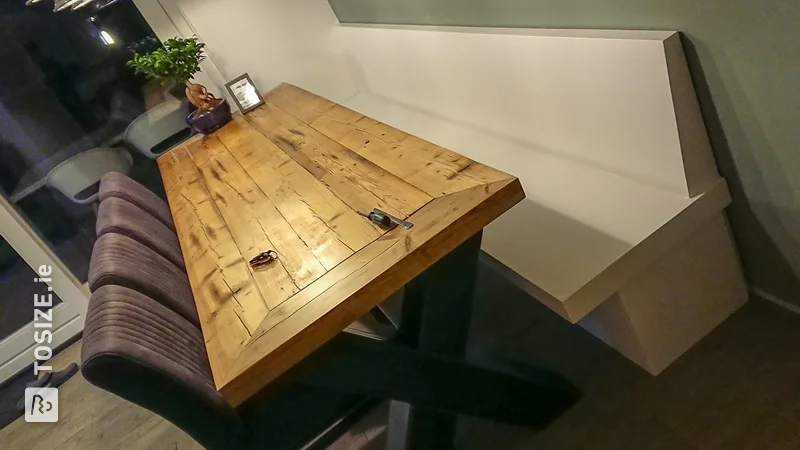
- Desk tops - generally 18 - 40 mm thick
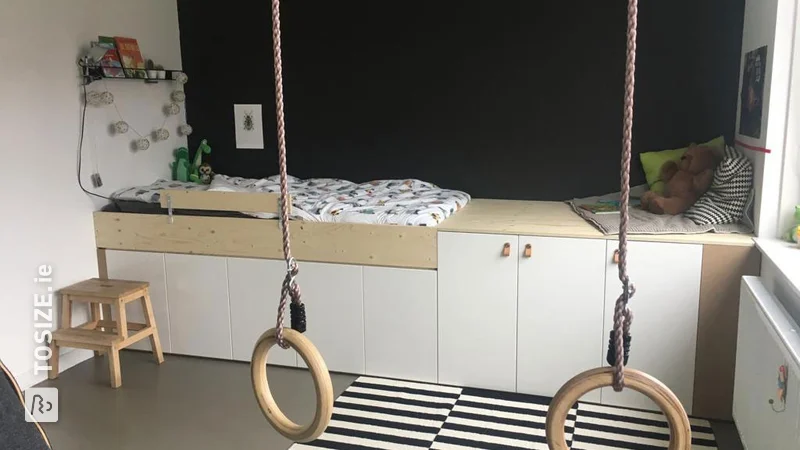
- Shelves - usually 18 - 22 mm thick
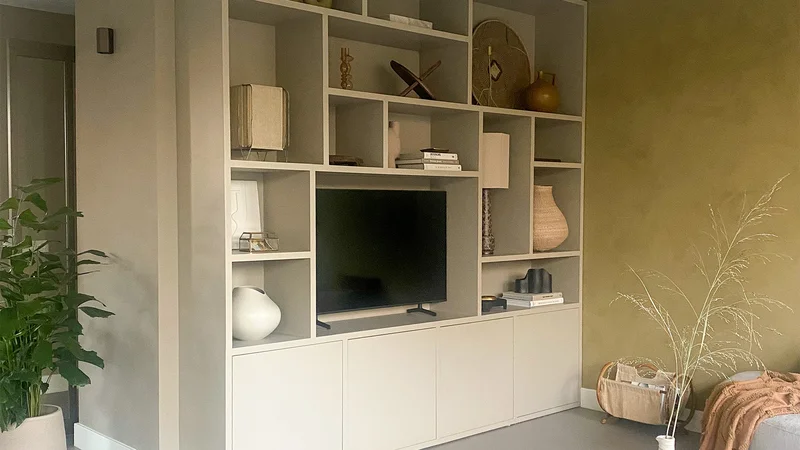
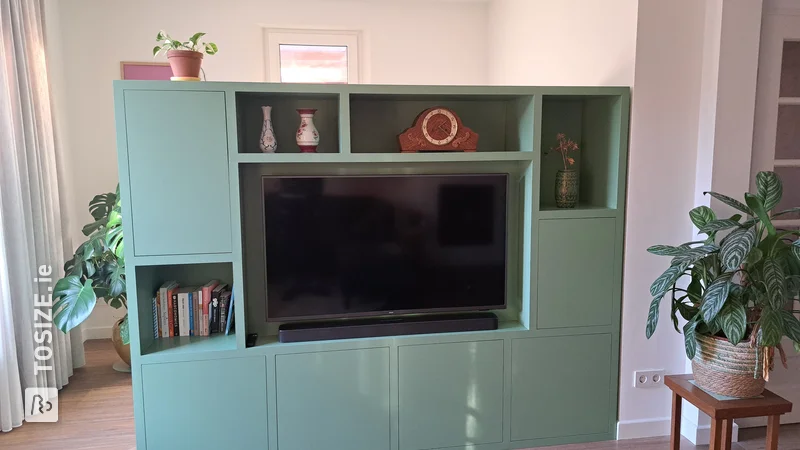
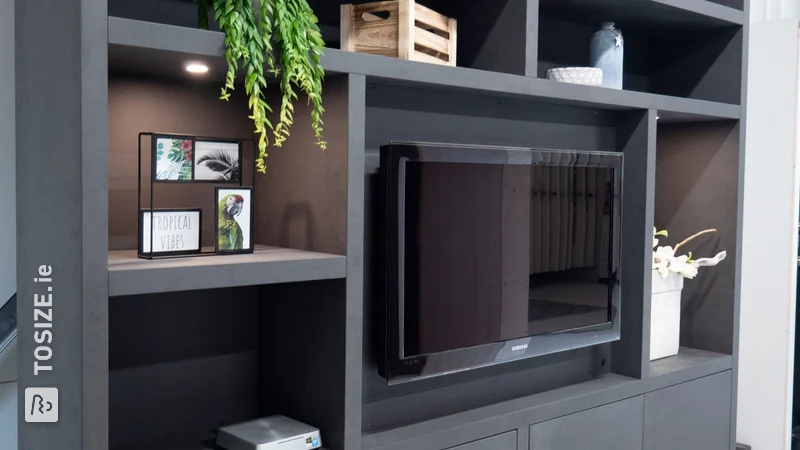
- Top panels for TV units - normally 18 - 40 mm thick
Order your plate material directly with a tight sloping edge via the button below.
Chamfer edges 4 mm
If you want the bevelled edge to be clearly visible, go for 4 mm. Useful, for example, on:
- Desk or table tops
- Shelves
- Top panels for TV units
Order your plate material with a clean sloping edge directly using the button below. Or check out the other possibilities and examples below.
What other edge finishes are available?
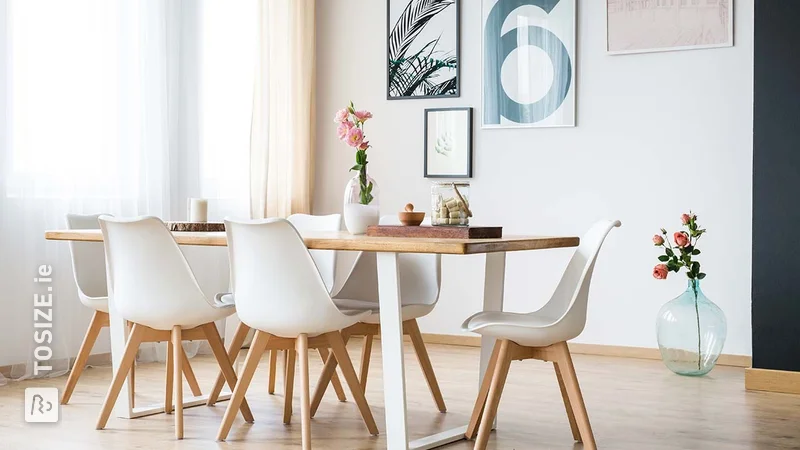
Besides the chamfered edge finish, you can also choose the rounded edge finish. This edge finish mainly ensures that the edge feels a lot more comfortable. Ideal for tabletops, for example.