- TOSIZE.ie
- Do it yourself
- DIY Projects
TV wall cabinet MDF TOSIZE, by Jeroen and Simone


Make this furniture yourself using TOSIZE.ie
Jeroen
Average
4 minutes
Description by Jeroen and Simone
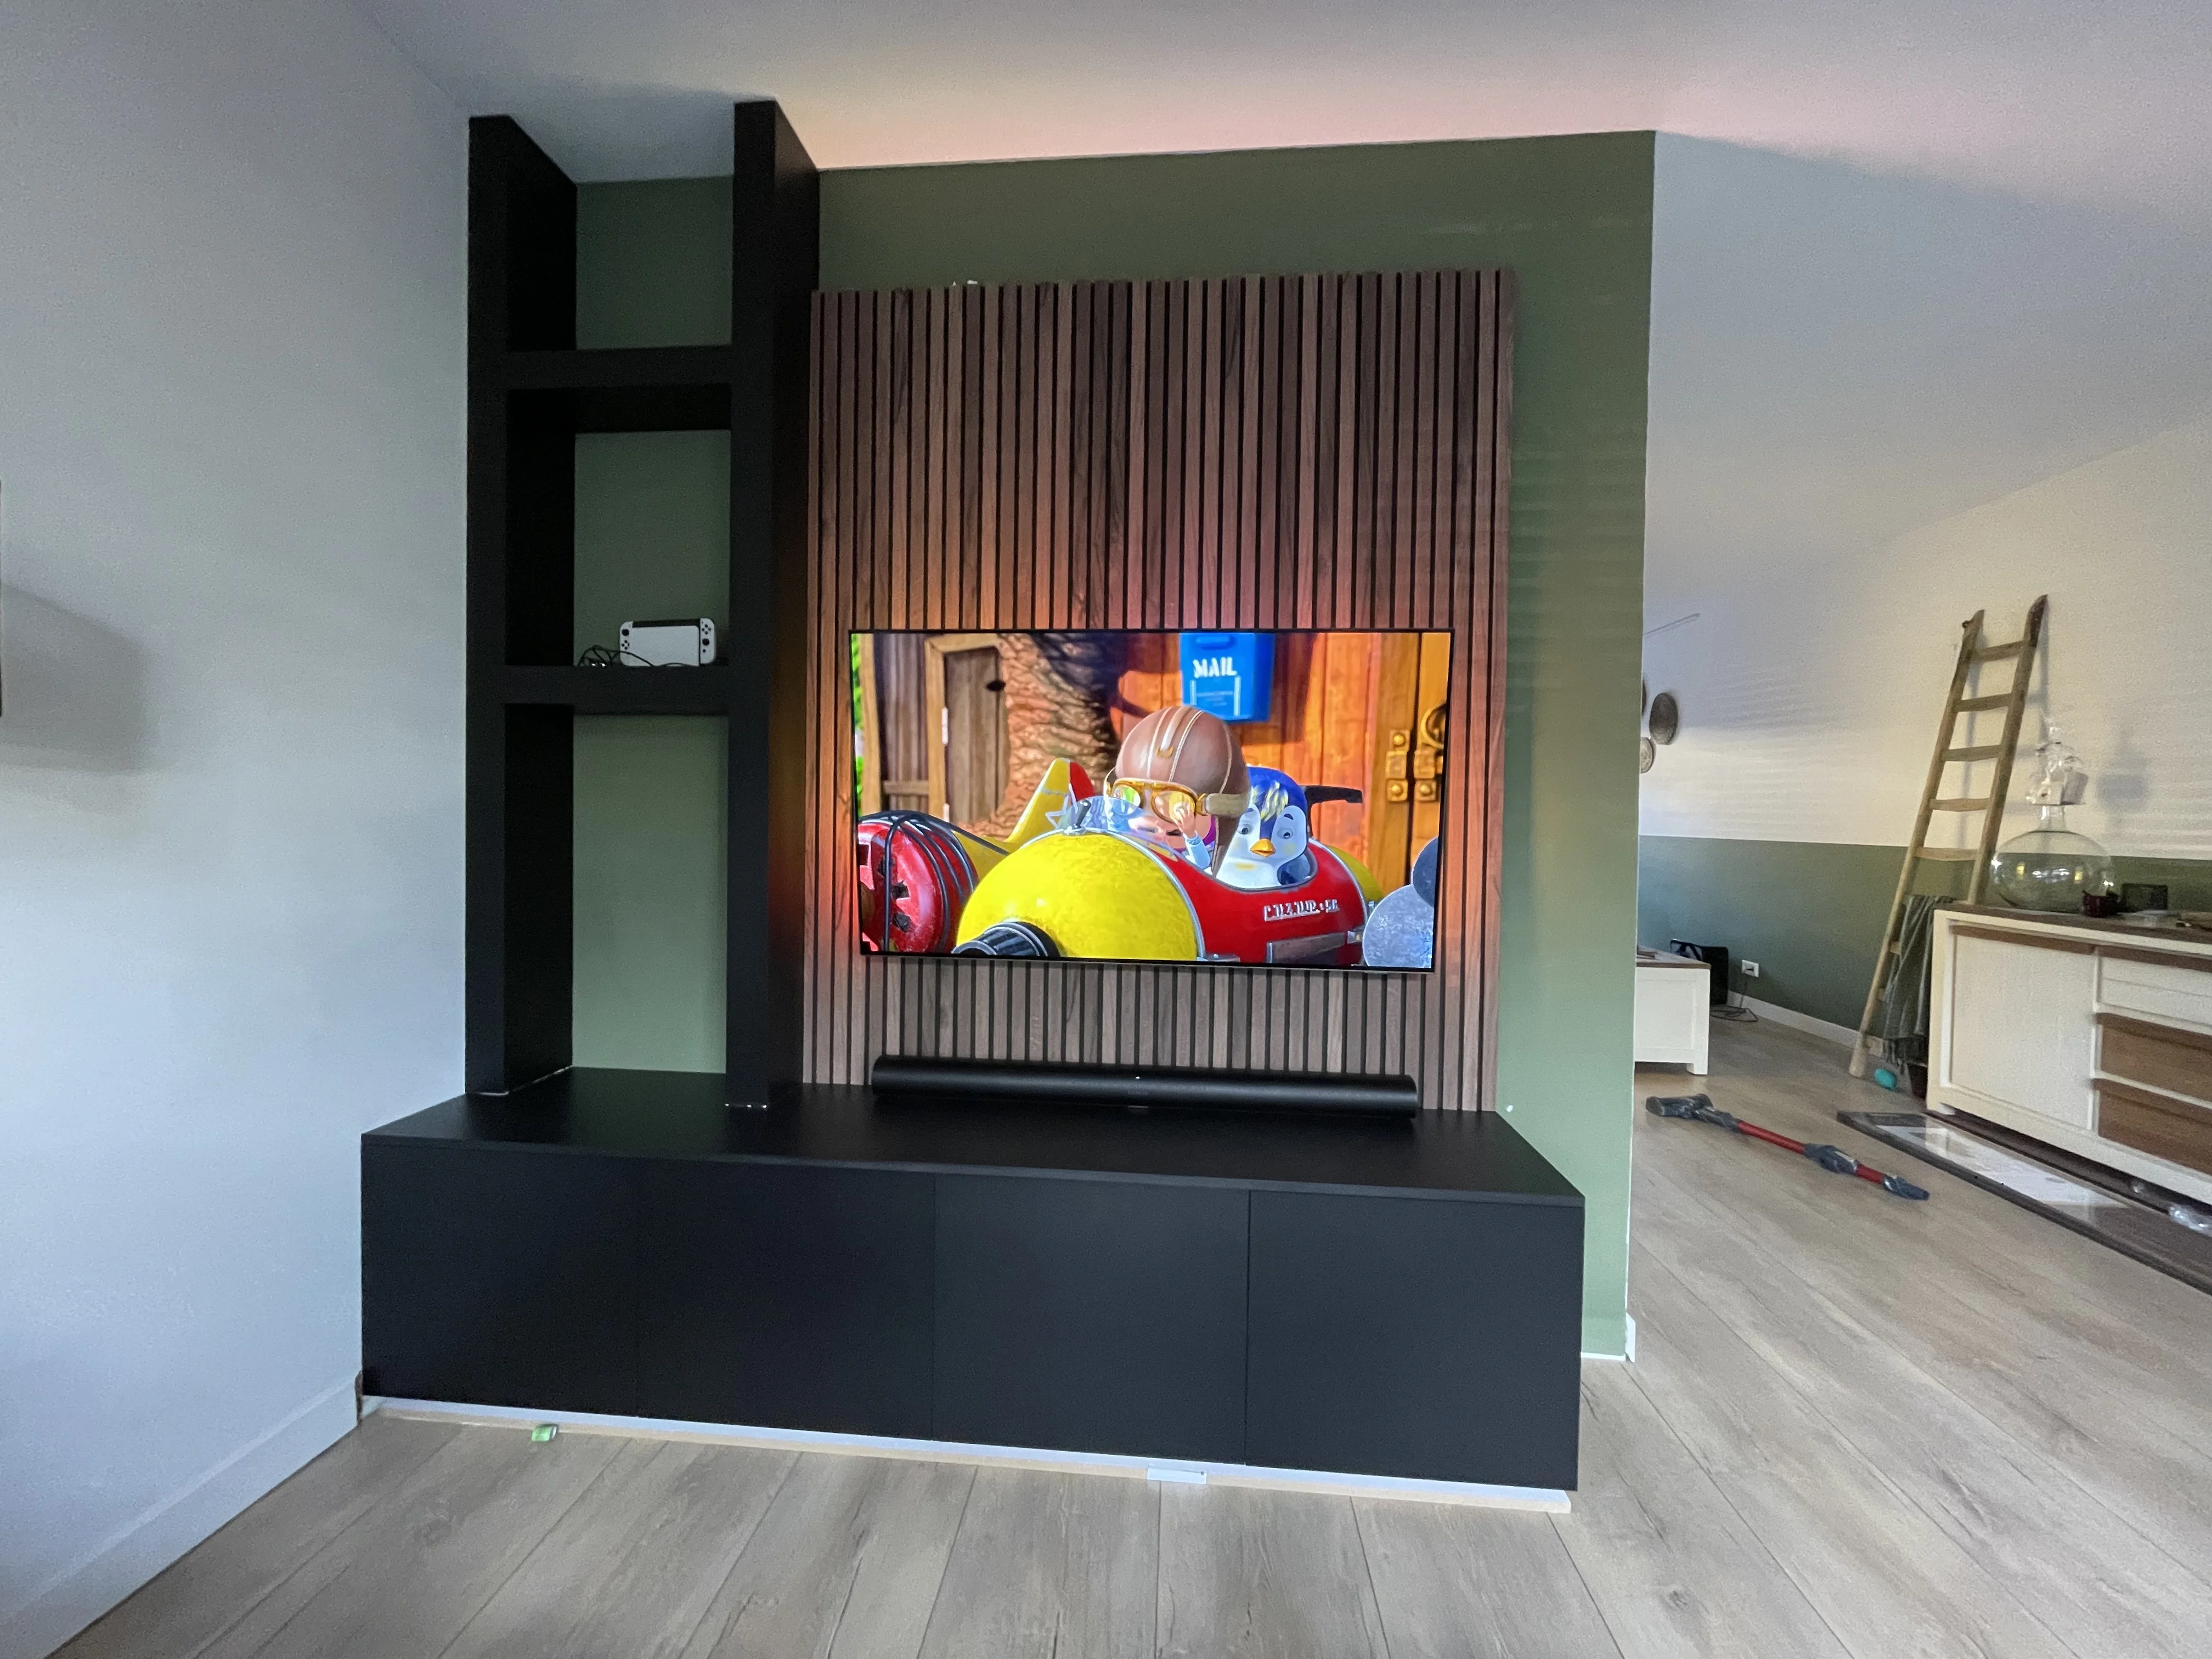
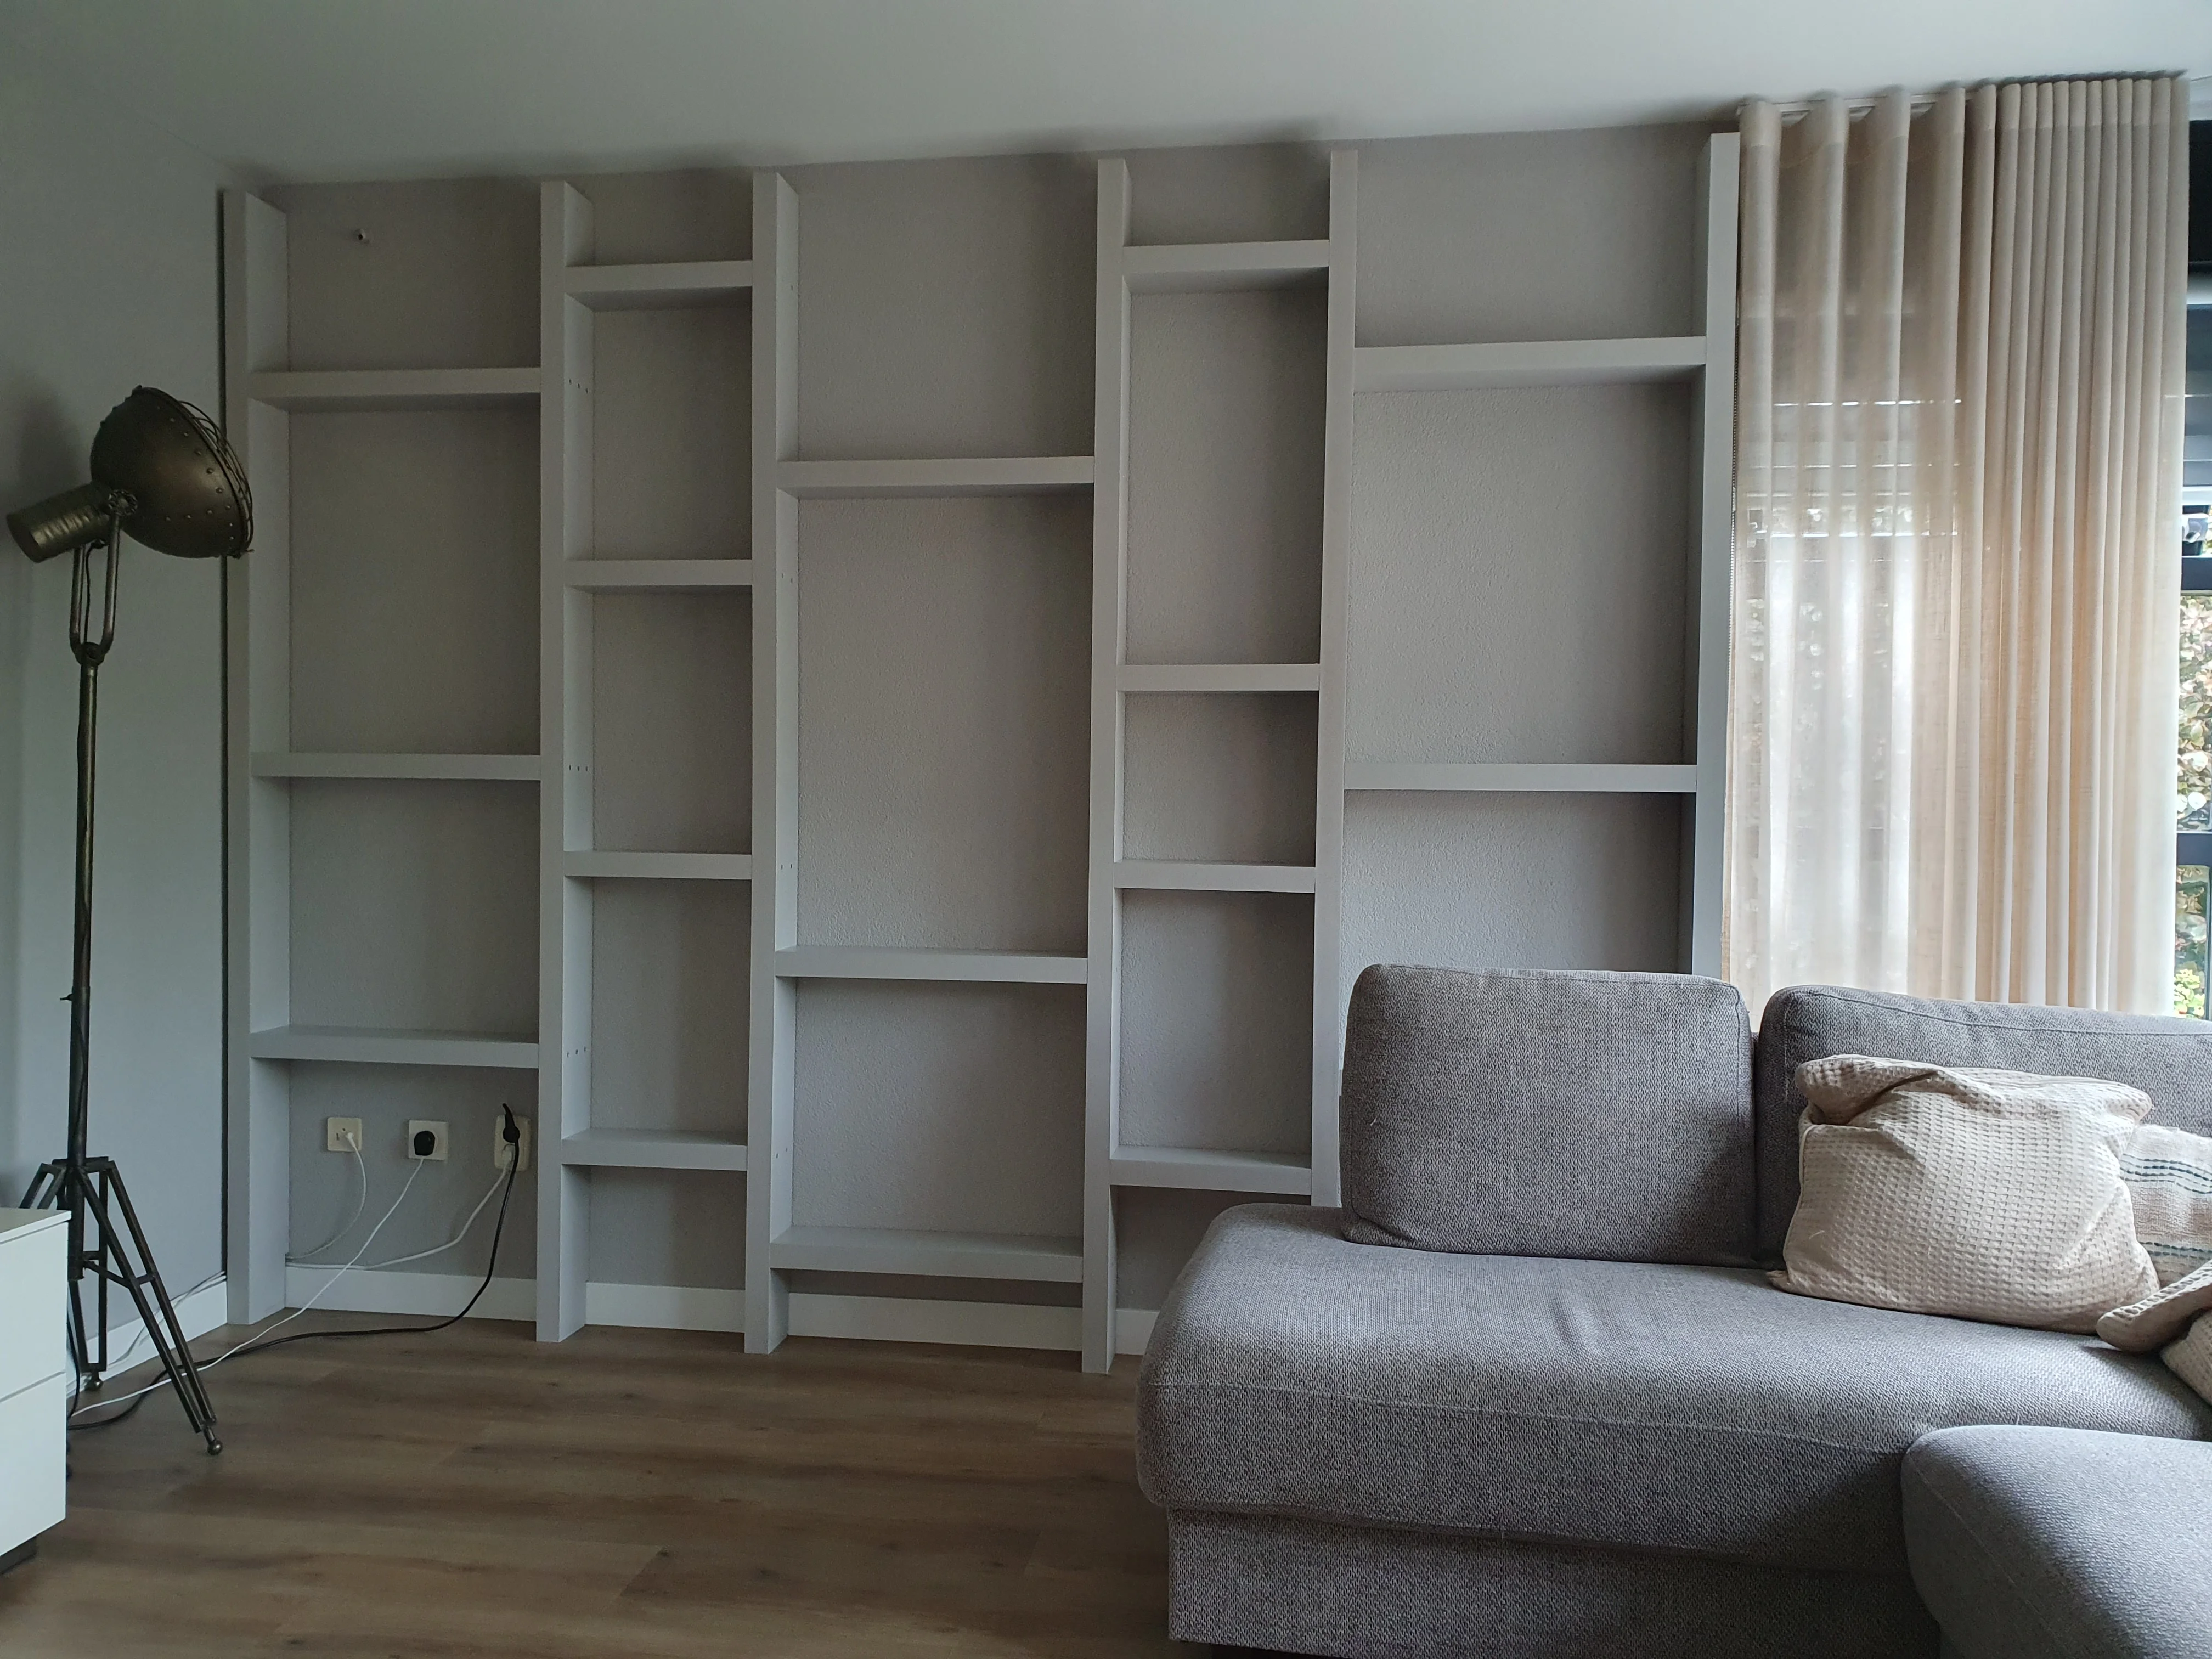
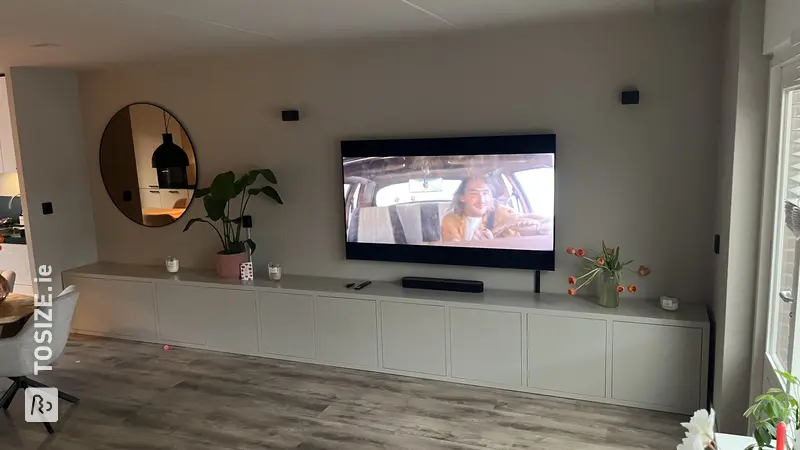
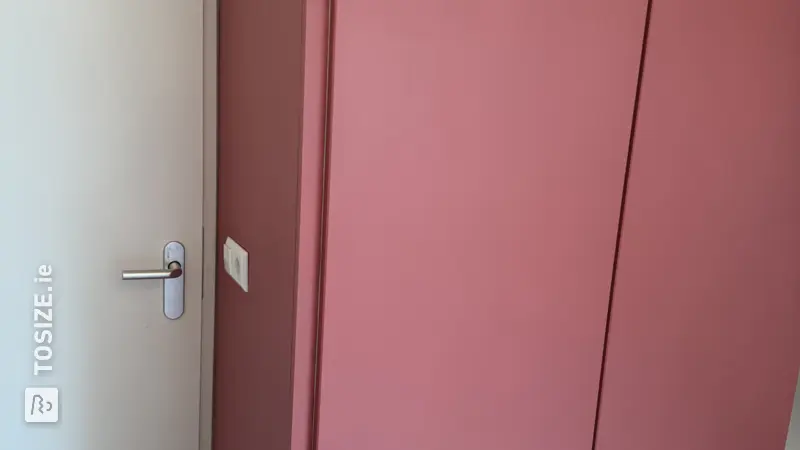
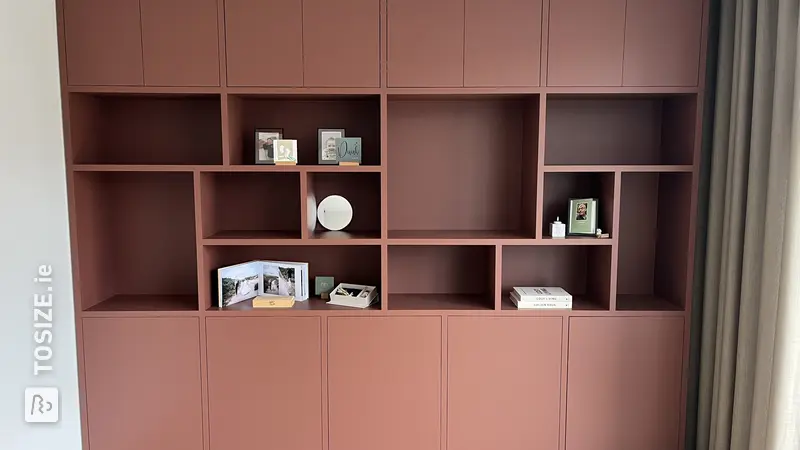
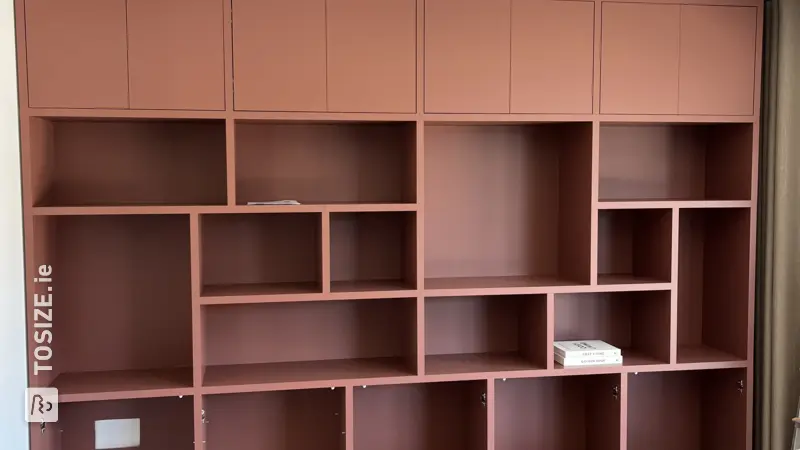
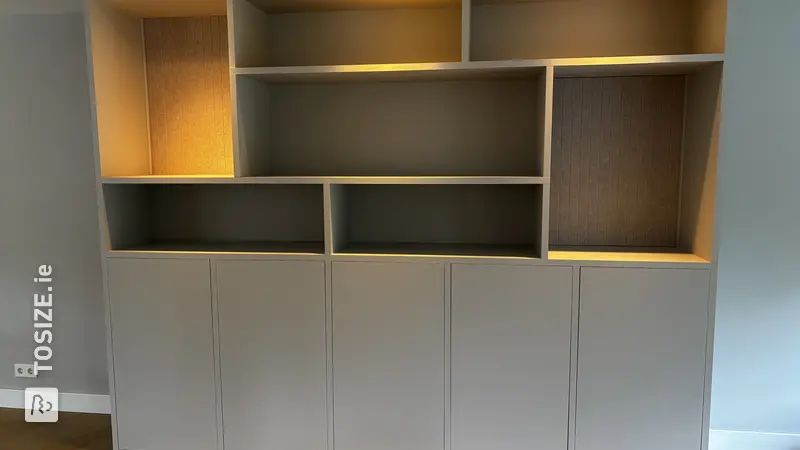
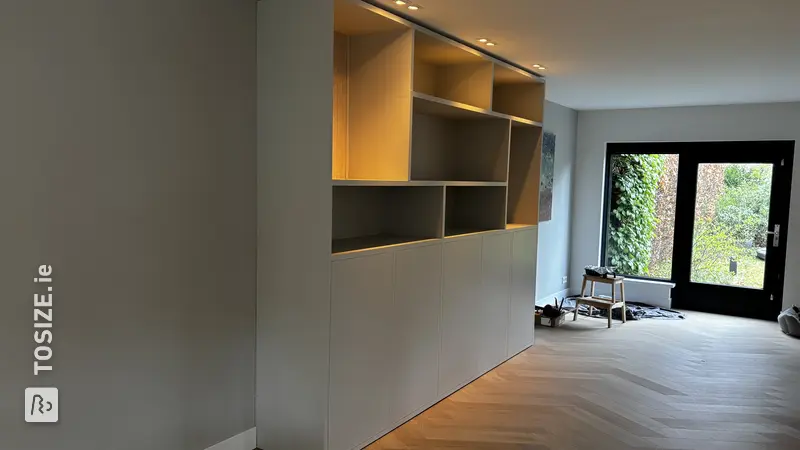
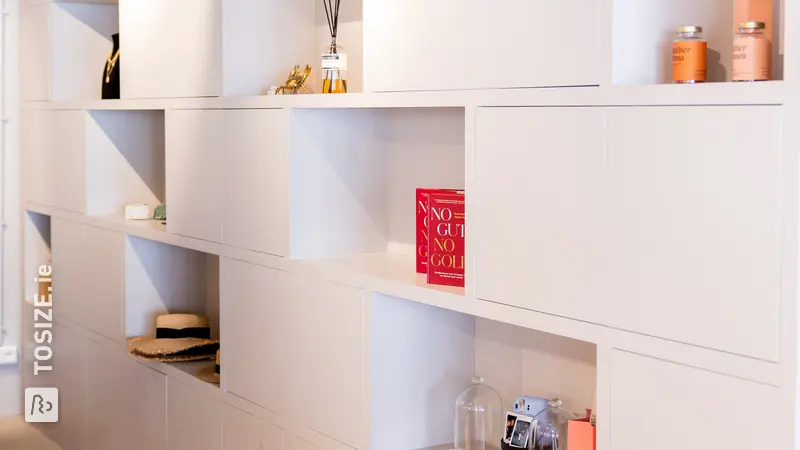
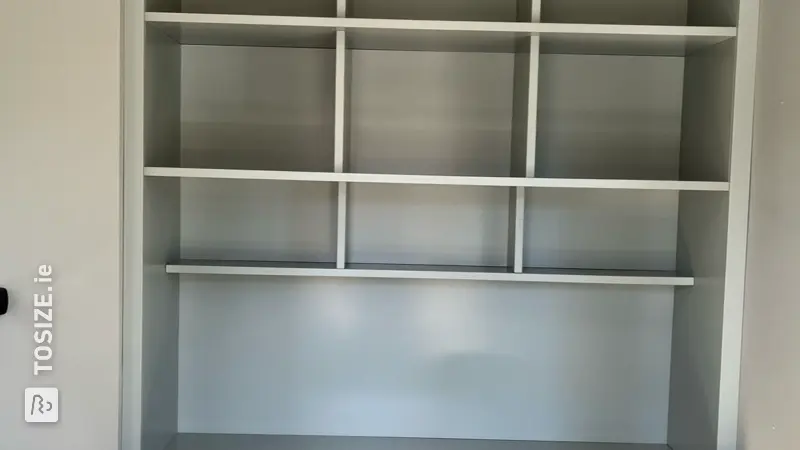
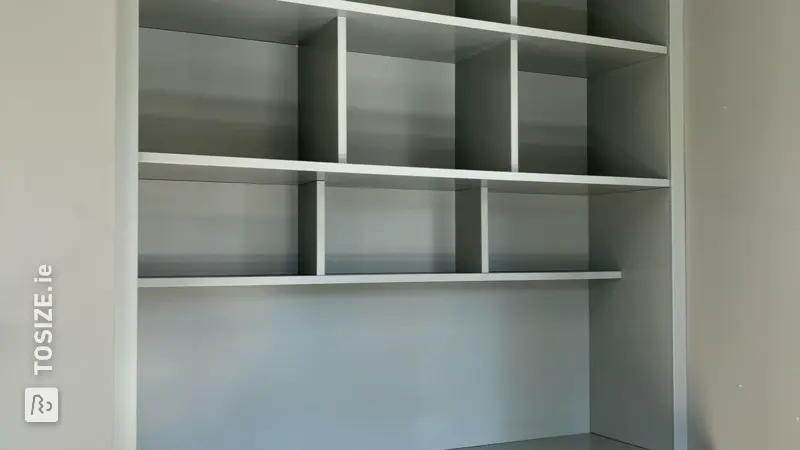
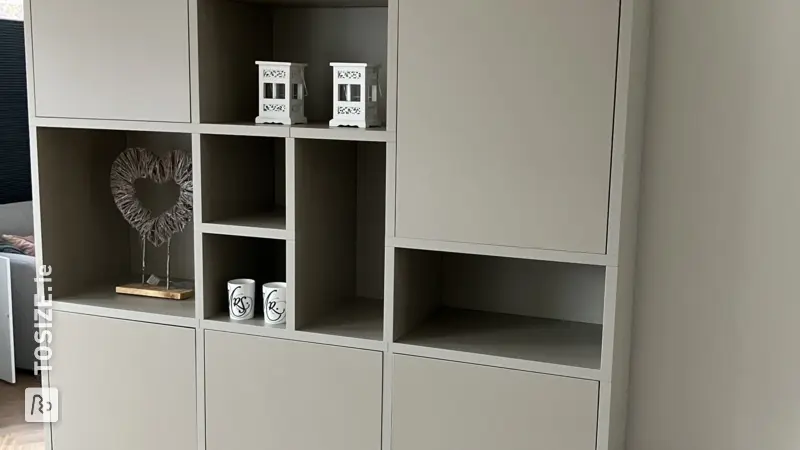
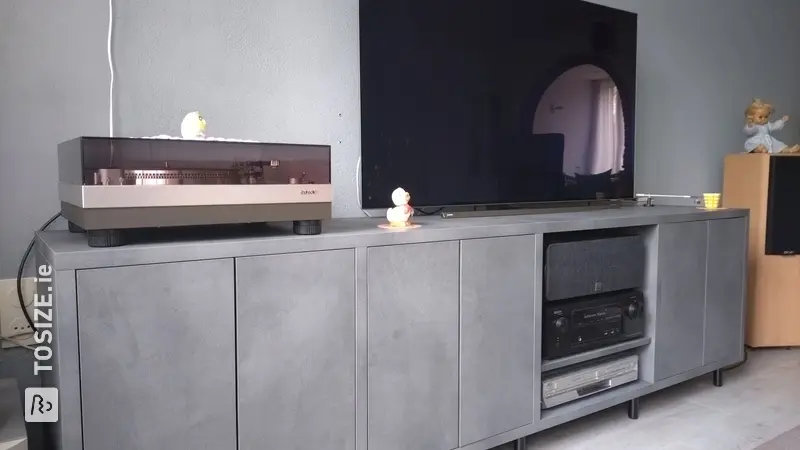
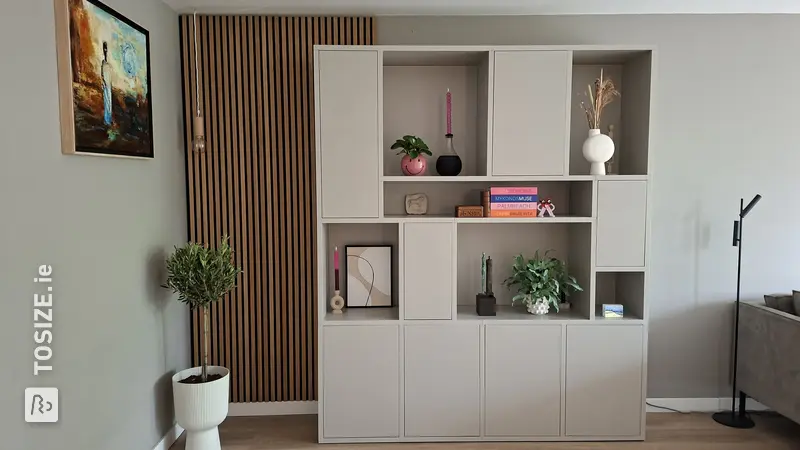
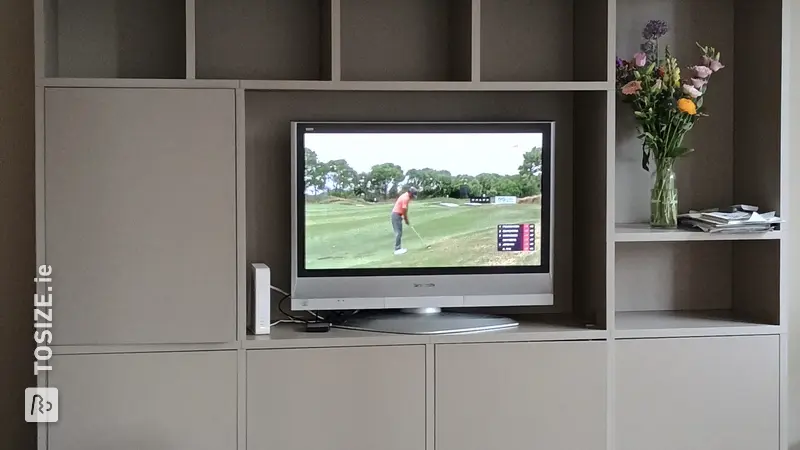
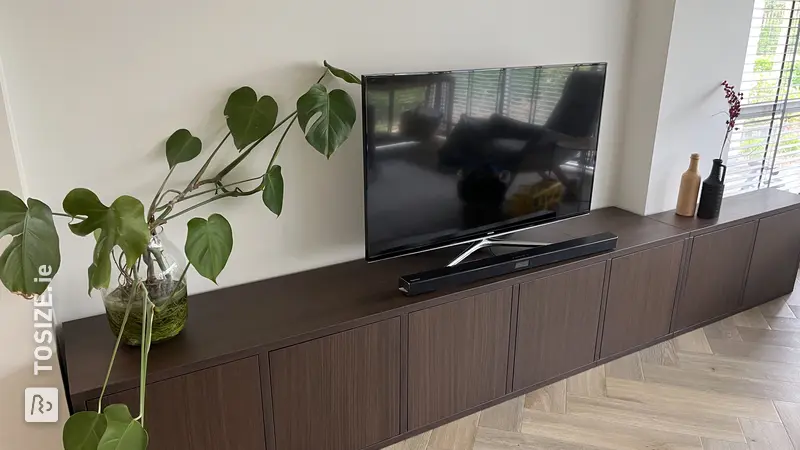
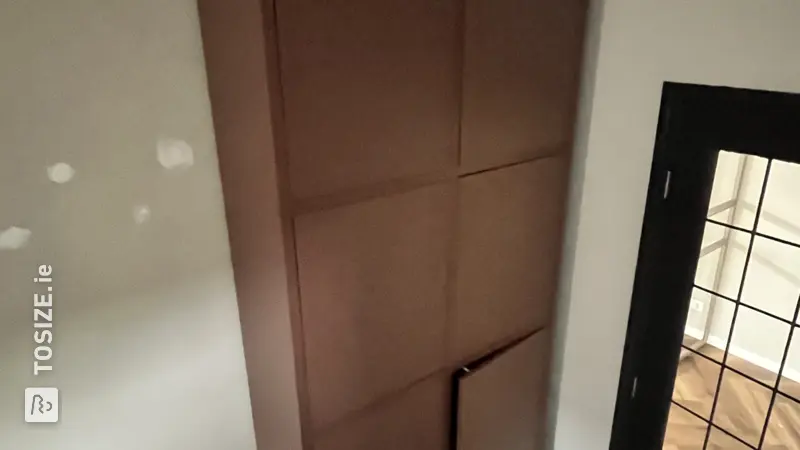
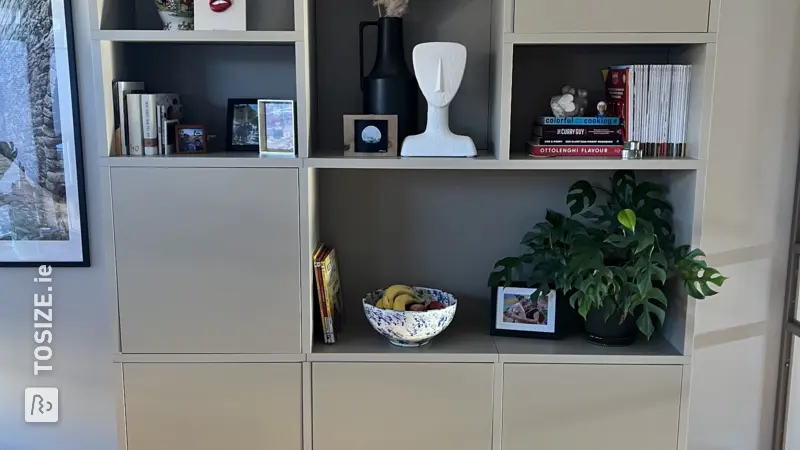
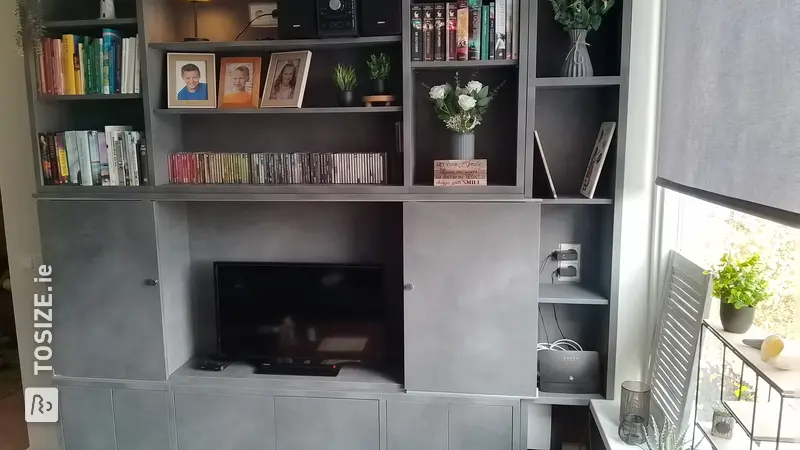
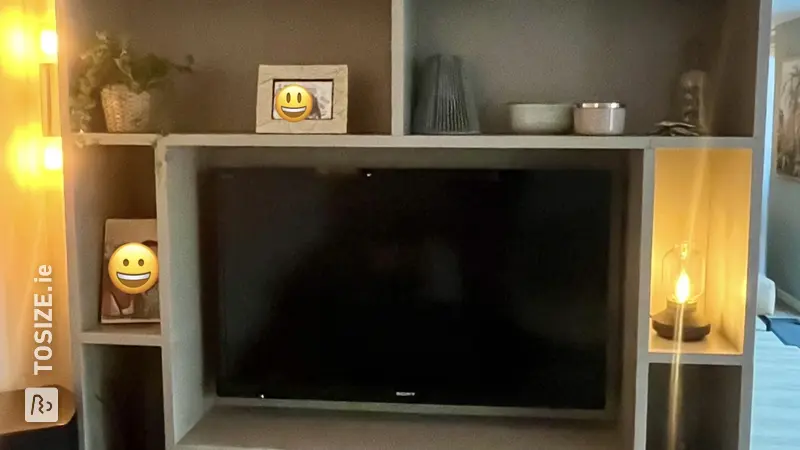
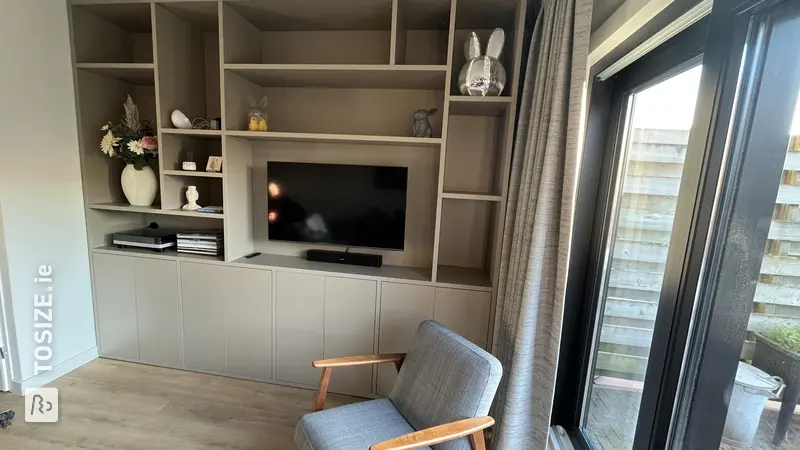
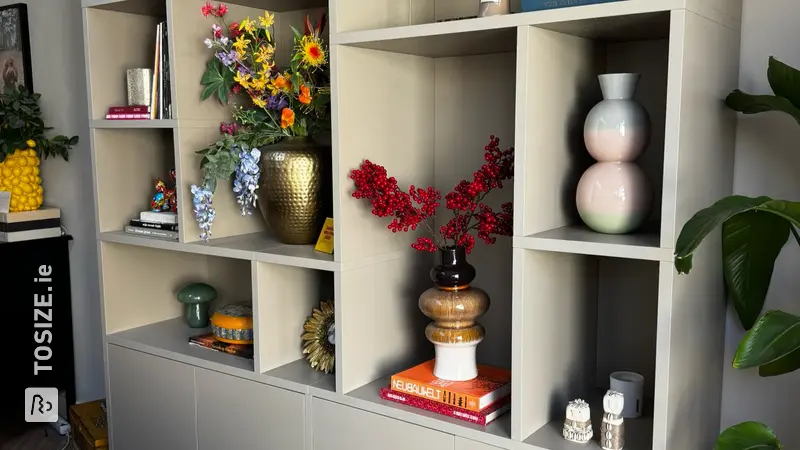
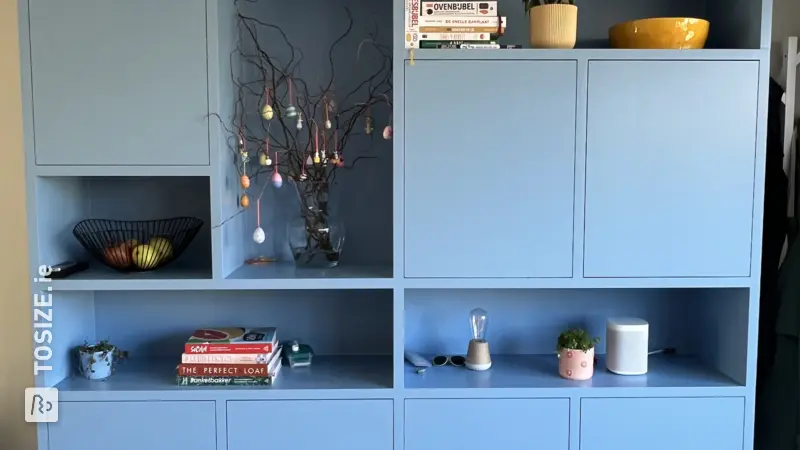
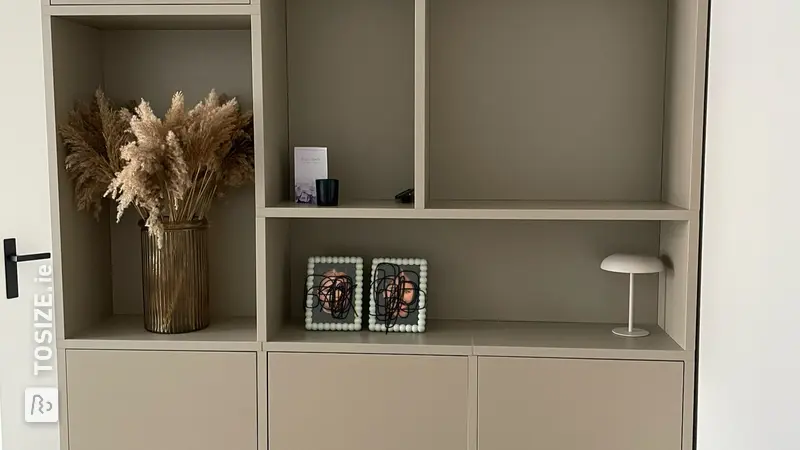
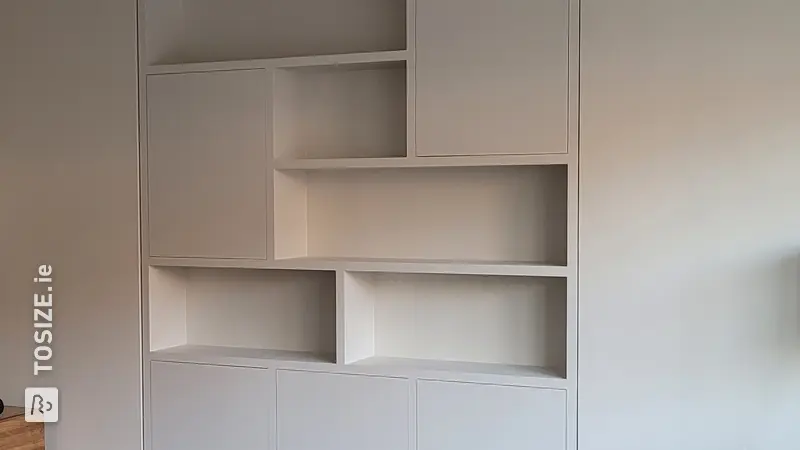
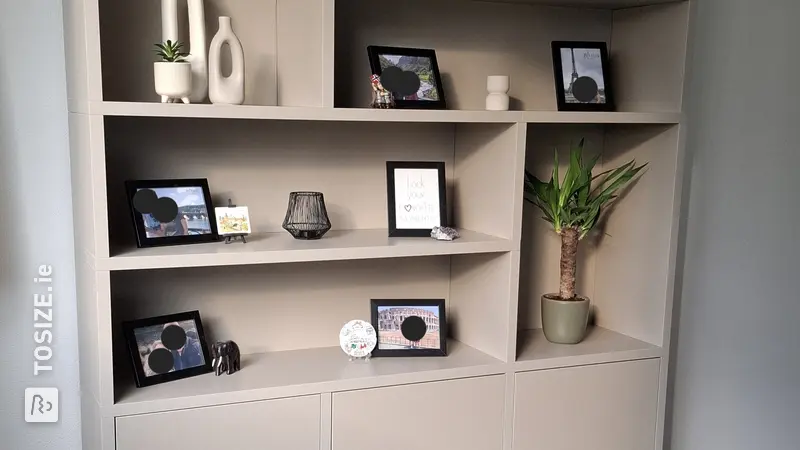
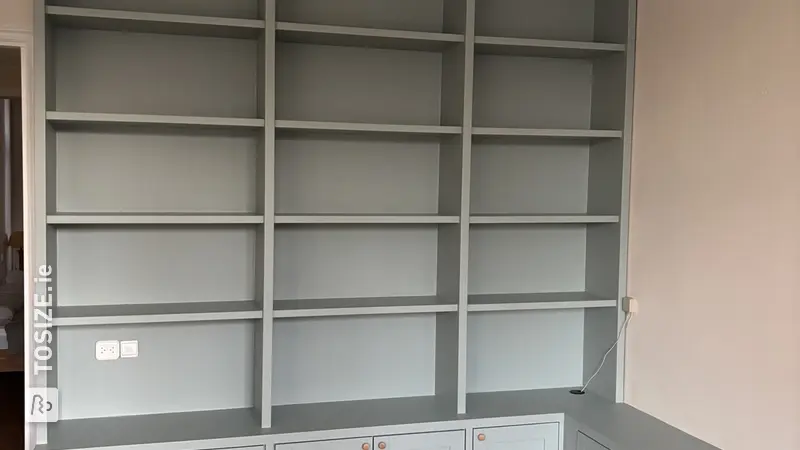
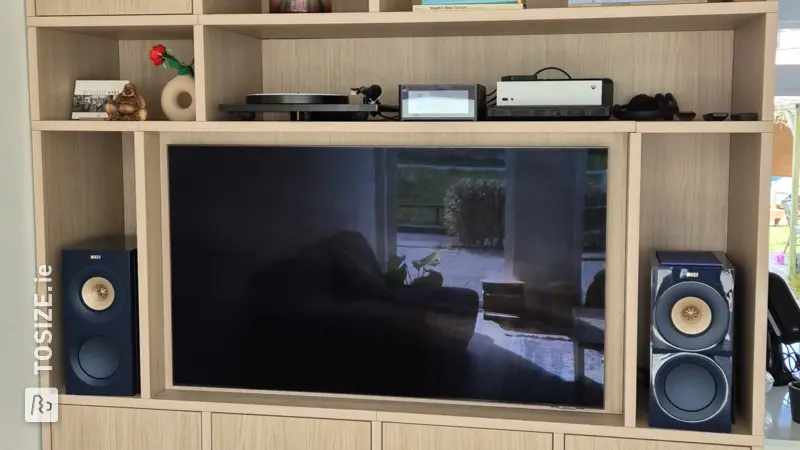
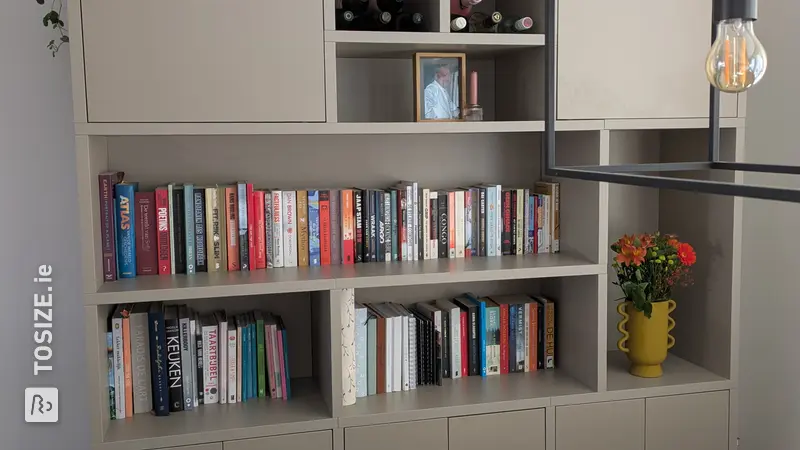
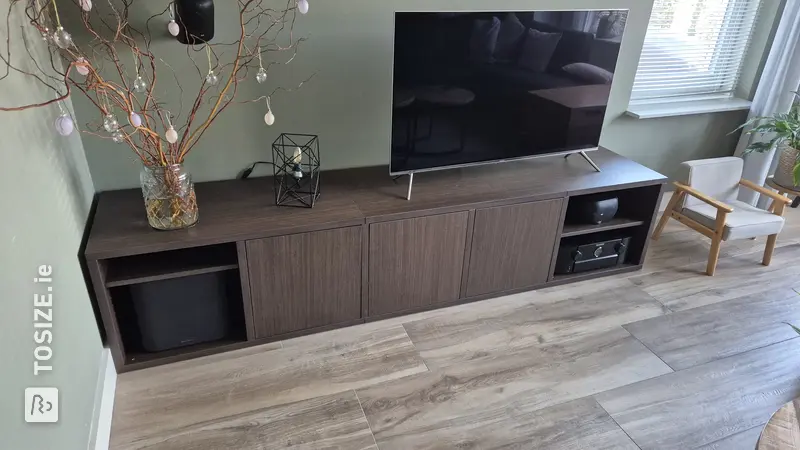
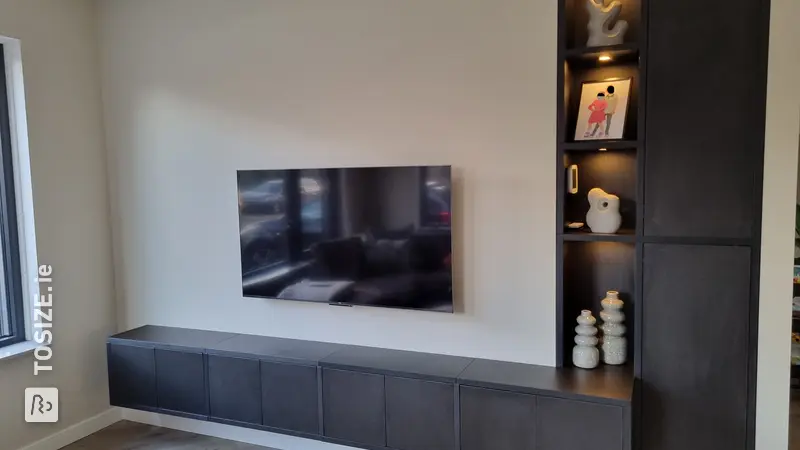
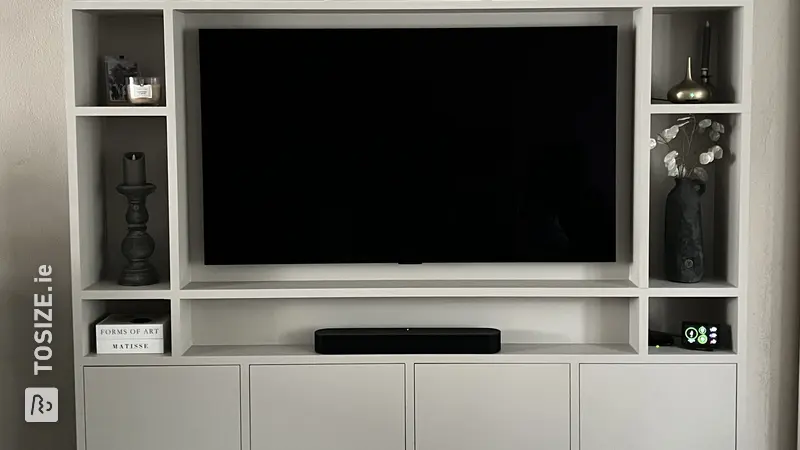
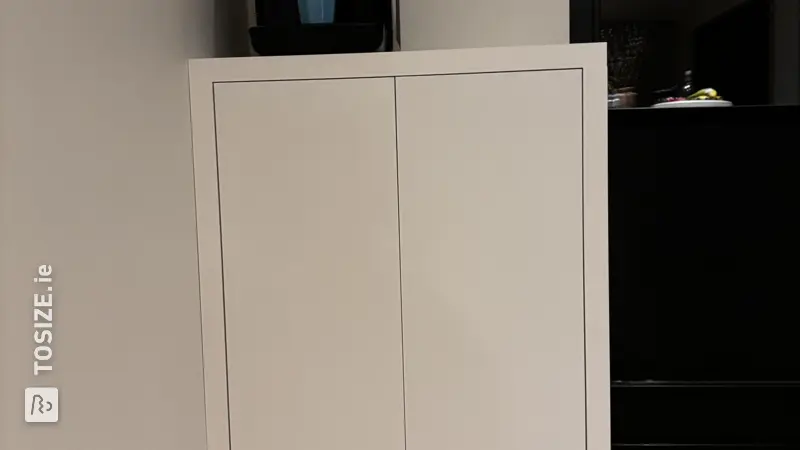
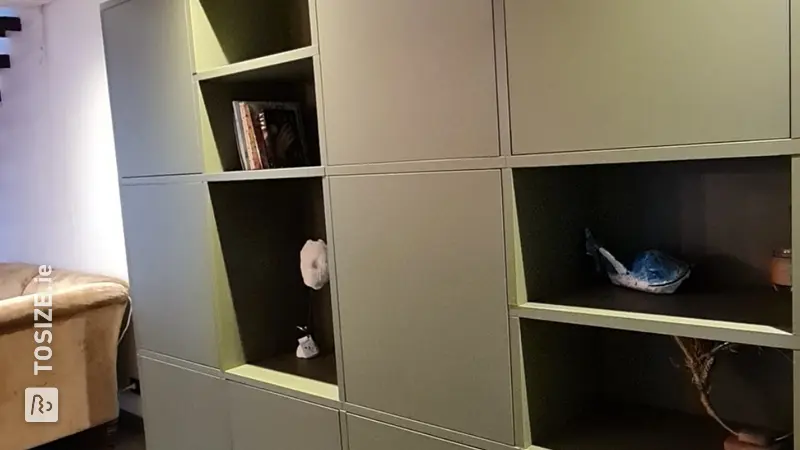
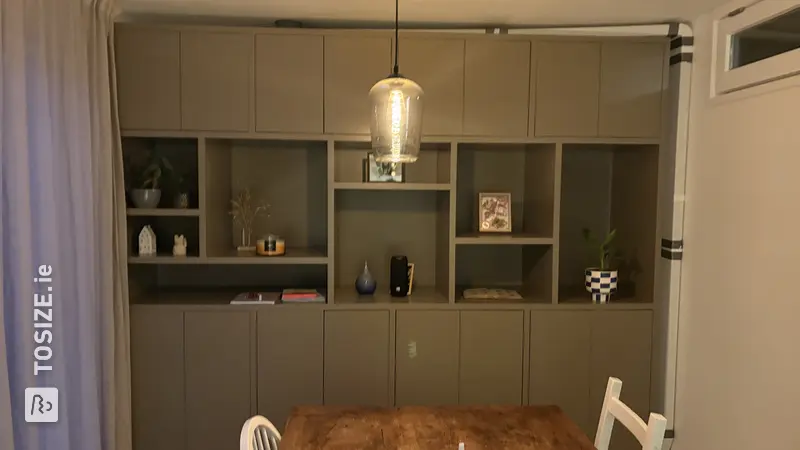
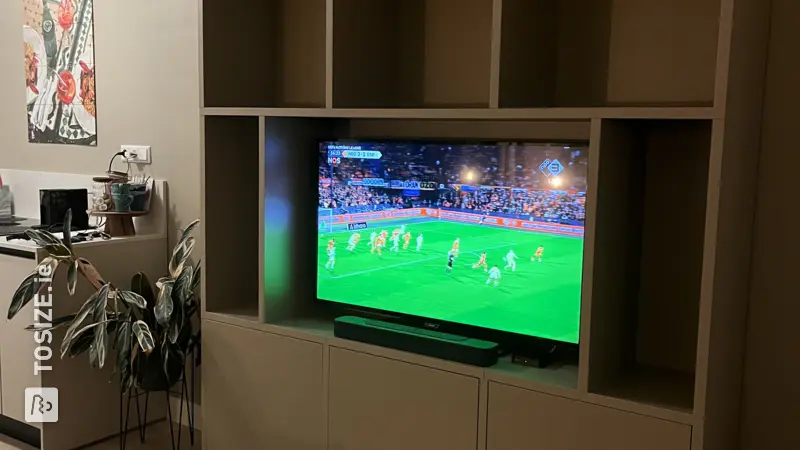
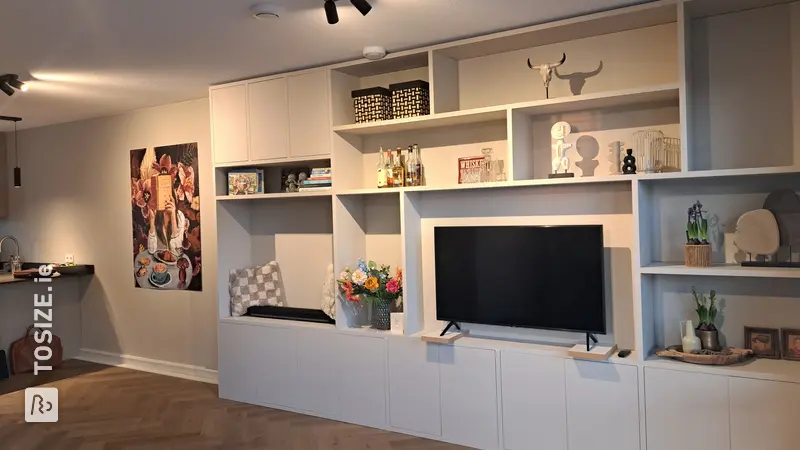
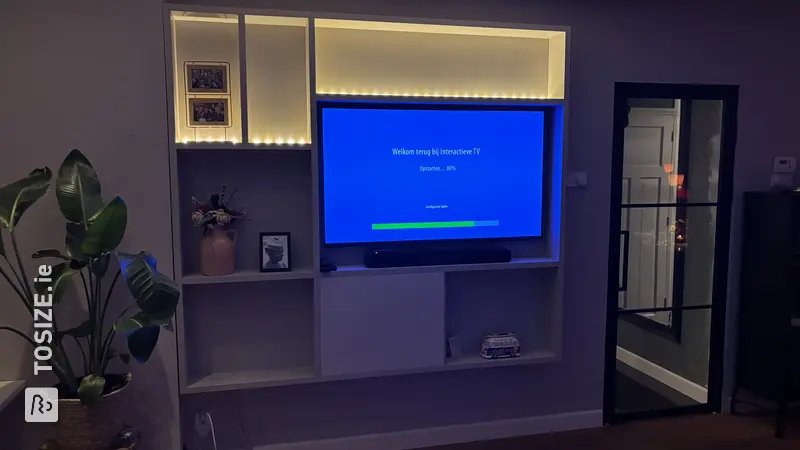
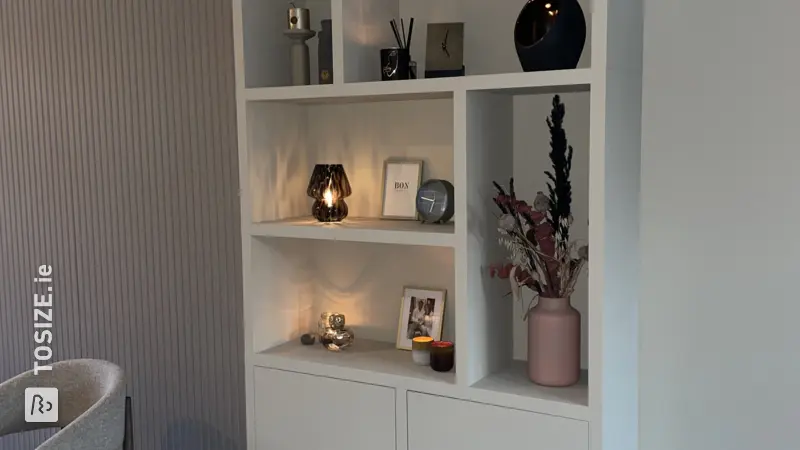
We have made a TV cabinet that fits between two walls in our living room. Our living room is quite narrow and we noticed that we could not create enough storage space with traditional cabinets. The idea soon arose to design a shelving unit yourself. We got enough inspiration from the website TOSIZE.ie to design a beautiful cupboard ourselves. The cabinet is designed with two different depths to maintain a spacious feeling across the entire width of the cabinet. Unfortunately, this could not be incorporated as a whole in the cabinet configurator, but with examples of a number of DIY projects on this website we came a long way by designing the cabinet in two separate parts, a lower and an upper cabinet. We also wanted to integrate lighting into the cupboard and hang our TV in the cupboard. After good contact with customer service, we had the design adjusted in such a way that the TV box would move forward 10 centimeters in the cabinet, leaving a space behind it for cables. We also benefited greatly from good preparation. We made drawings of the layout, drew in the color(s) and lighting and also made a cable plan. When building, it really helps if you think this out in advance.
How I made this project
Reception
First of all, you have to take a lot of materials into account that comes in, in our case 2 pallets of wood. It was raining upon delivery and MDF can't handle that well, so we put the material indoors as quickly as possible. Sort the parts in advance as indicated in the instructions, this will save you a lot of work once you start assembling the cabinet.
Building
The first part (base cabinet) we have built it up in its entirety. A spirit level is very useful for adjusting the feet over a large distance. The leveling feet are easy to adjust. Assembling the cabinet is simple: you place wooden dowels, a little glue and then make sure that the element is aligned with the front of the cabinet. We cut a hole in two panels for the sockets. You have to put in a little more effort to mount the upper cabinet on the lower cabinet. We drilled holes in the top of the cabinet where the dowels will be located. A dowel is available at the hardware store for this purpose. Take your time with this, the distances are very close and you want your cabinet to be able to be put together straight. All in all this took us half a day. We then further assembled the cabinet as stated in the instructions. From the space behind the TV wall, we used a hole drill to drill a number of passages to the adjacent compartments, so that the LED lighting could be processed through them and so that all cables behind the TV could be led to the socket. For the TV itself, you will receive two plates of wood that you can mount behind the wall for the TV bracket mounting. I used 4 bolts with nuts for this. To attach the cabinet to the wall, we bought wall anchors at the hardware store that you can mount internally. With the hole drill you can then secure the cabinet to the wall with a screw.
Finishing
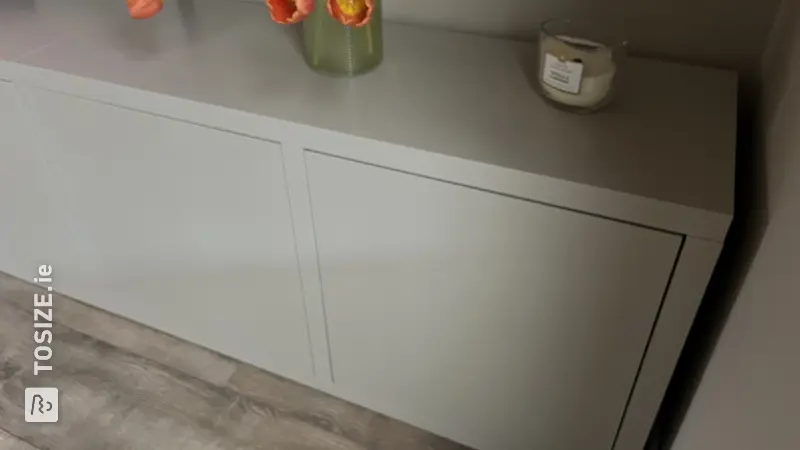
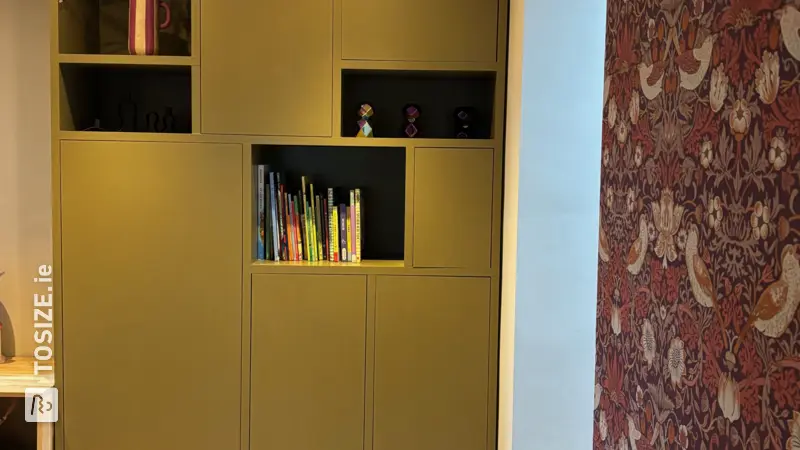
It is useful to treat the doors separately before painting. We have chosen to place acoustic panels in a few compartments to visually break up the large cupboard. We used sealant (inside seams) and wood filler (surfaces) for the cracks, and sanded this before applying the primer (1 layer). Finish with a good scratch-resistant lacquer (2 layers).
Dimensions of my DIY project
364.0 cm wide 257.0 cm high depth base cabinet 45.0 cm, depth top cabinet 28 .0 cm
Tip! Also check out our handy DIY tips!
What now?
Do you want to create this DIY project? This piece of furniture is part of our TOSIZE Furniture collection. Design your personalized, custom-made furniture using our 3D configurator! Want more information? Learn more about available colors, assembly, or browse all frequently asked questions. You’ll receive a TOSIZE Furniture package, including an installation kit.
€ 3502,00
View all furniture
085 888 29 55
