- TOSIZE.ie
- Do it yourself
- DIY Projects
Insulate a shed and create storage space, by Jelle
Insulate a shed and create storage space, by Jelle

Create this project yourself with sheet material cut to size by TOSIZE.ie!
Jelle
Easy
2 minutes
On this page Jelle shares his experience with insulating his shed and creating storage space. He provides useful steps and tips to carry out this practical job. With his DIY approach, Jelle has created an insulated and organized space, perfect for all kinds of storage needs. Follow his steps and insulate your own shed and create handy storage space.
Description of Jelle
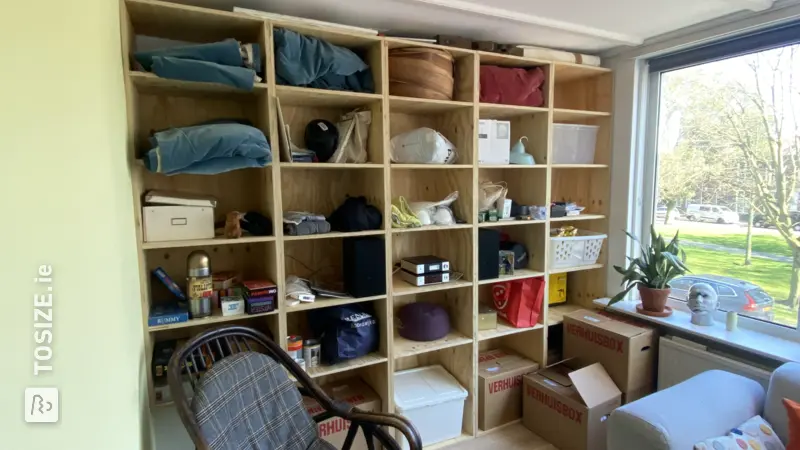
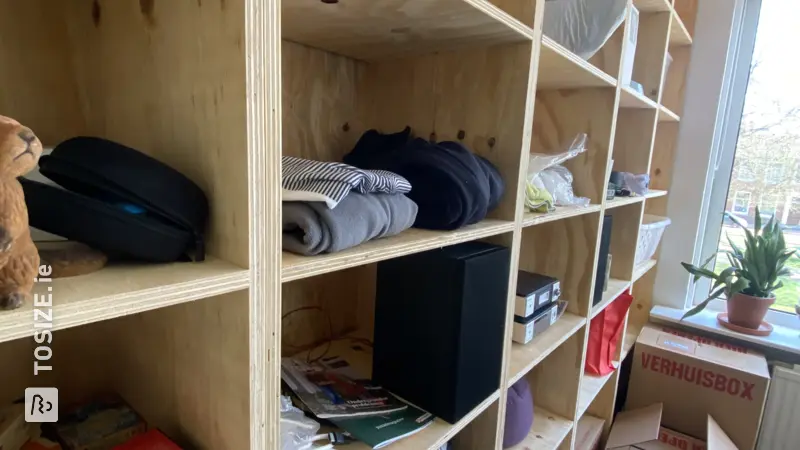
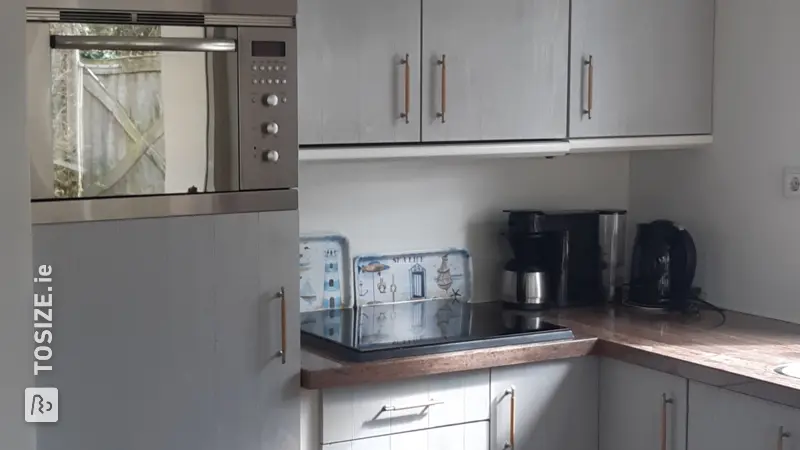
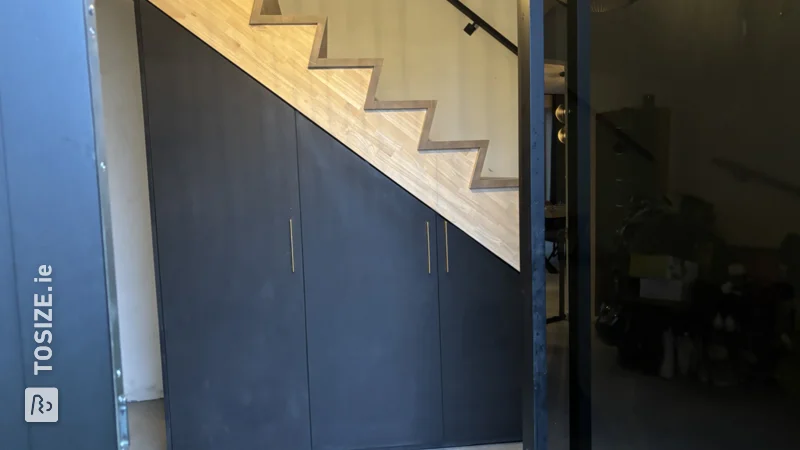
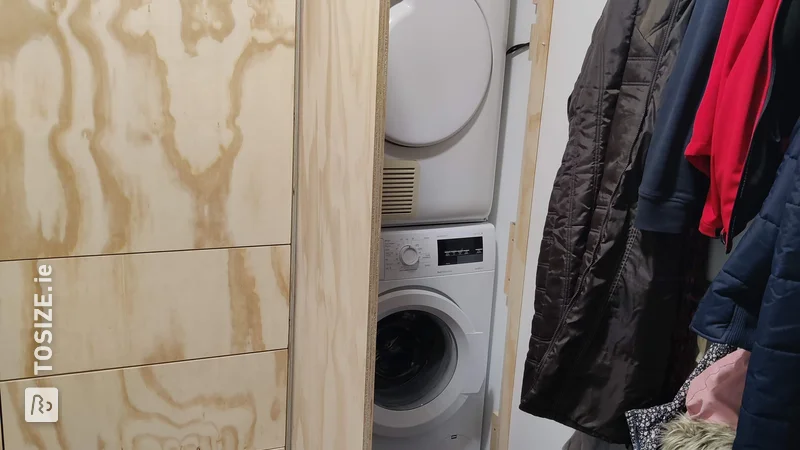
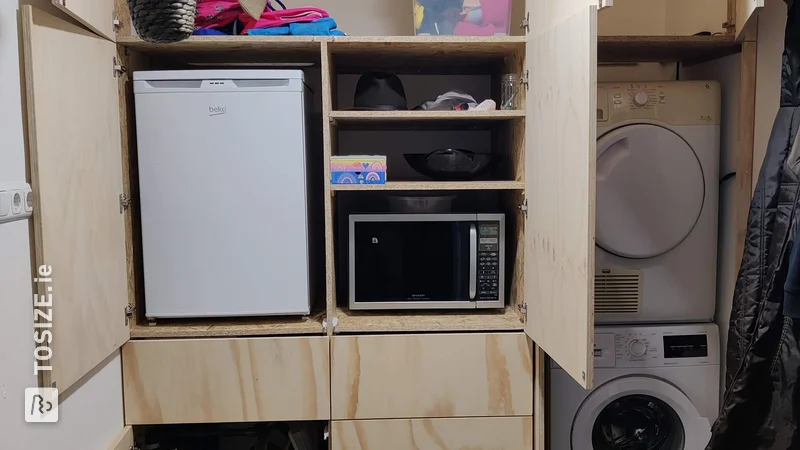
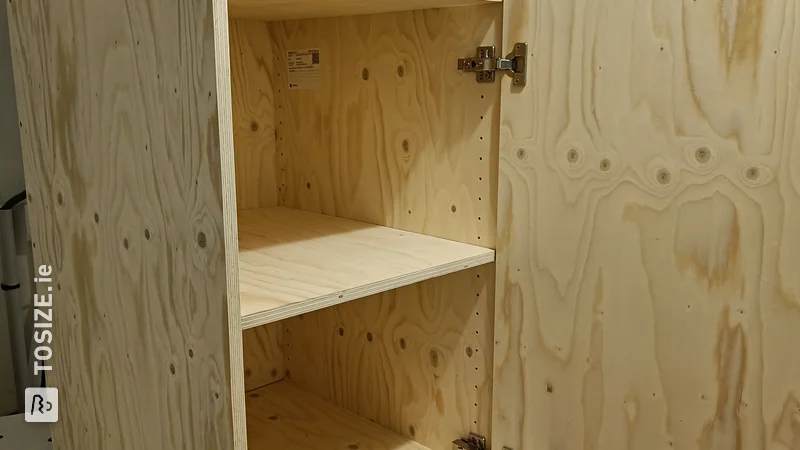
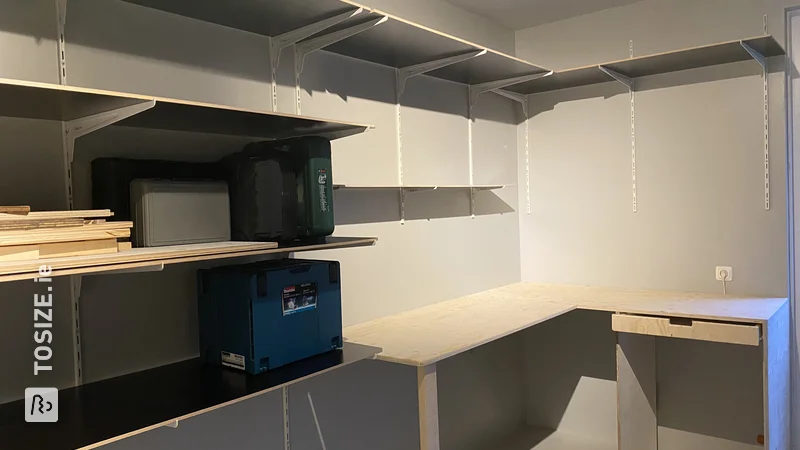
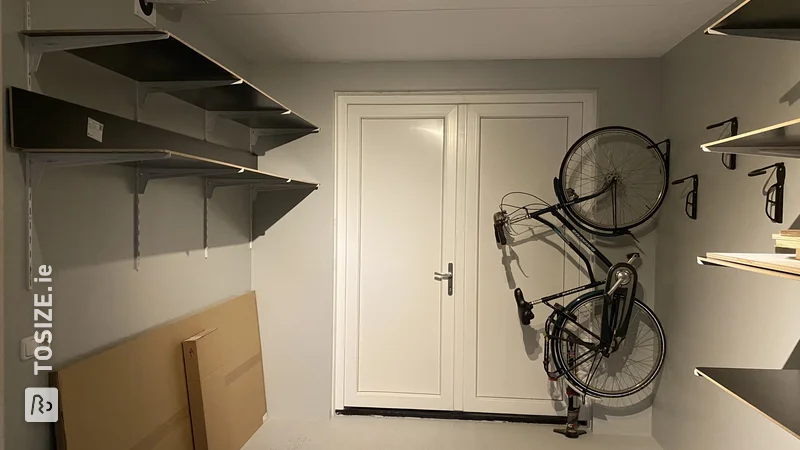
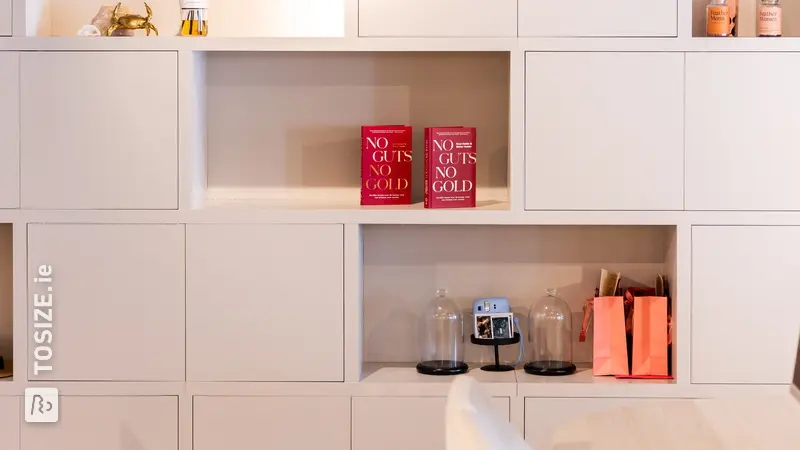
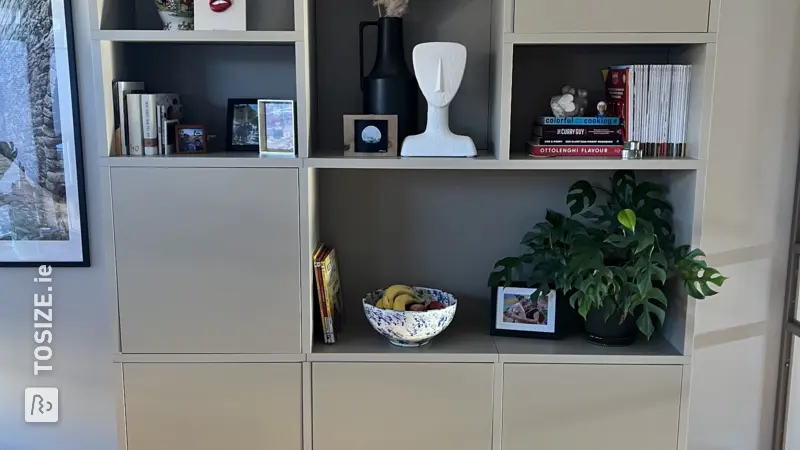
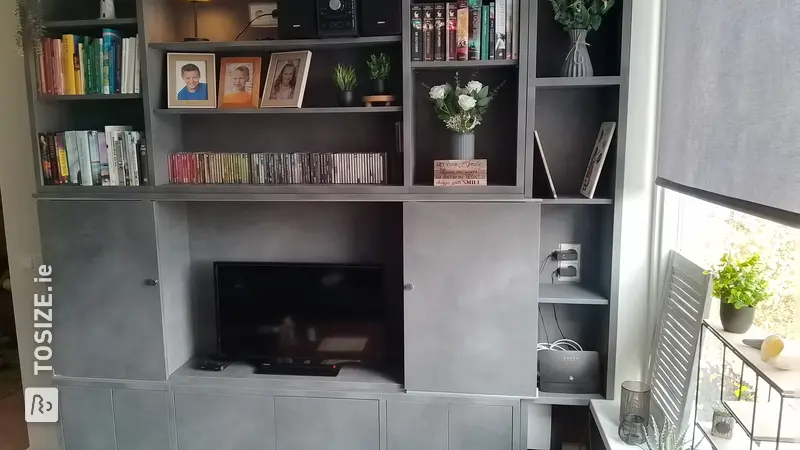
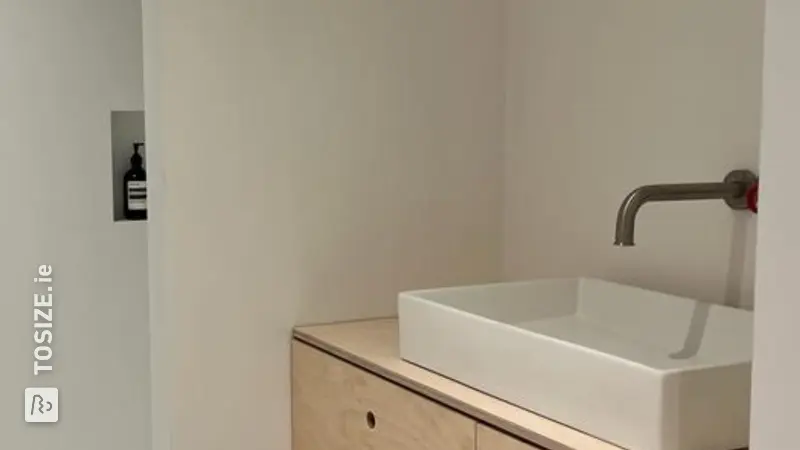
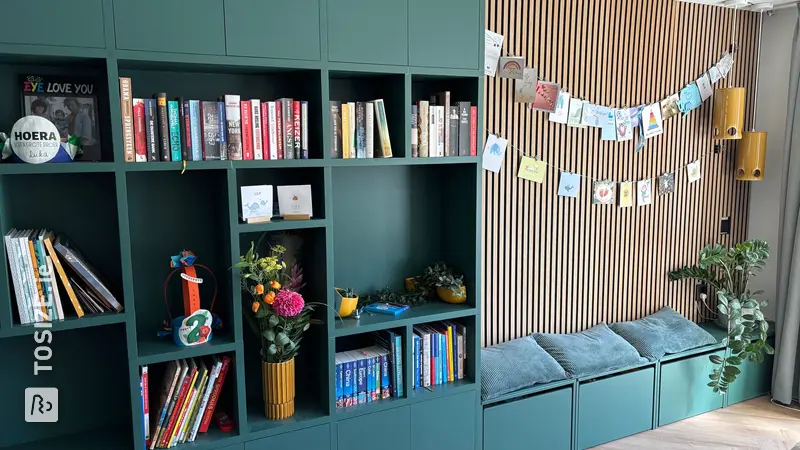
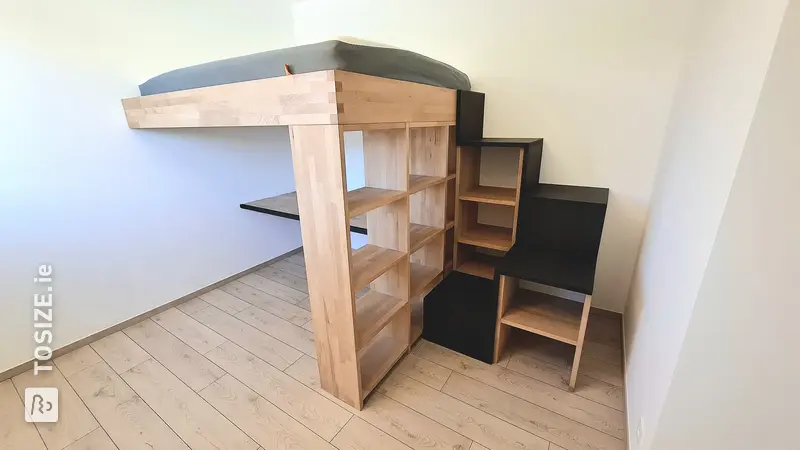
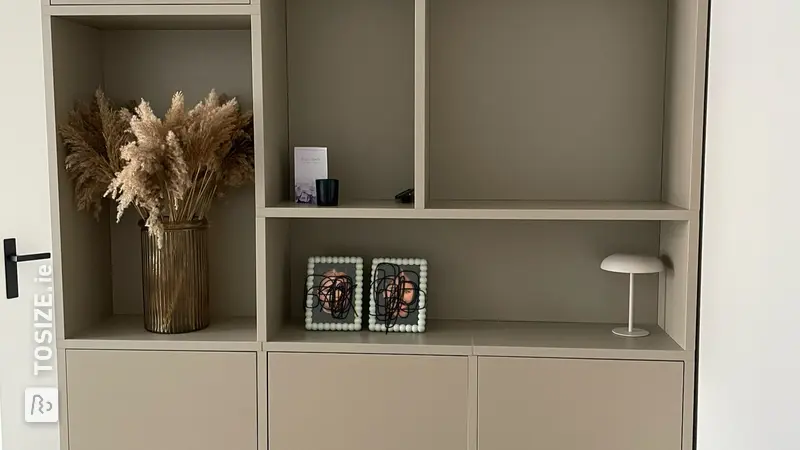
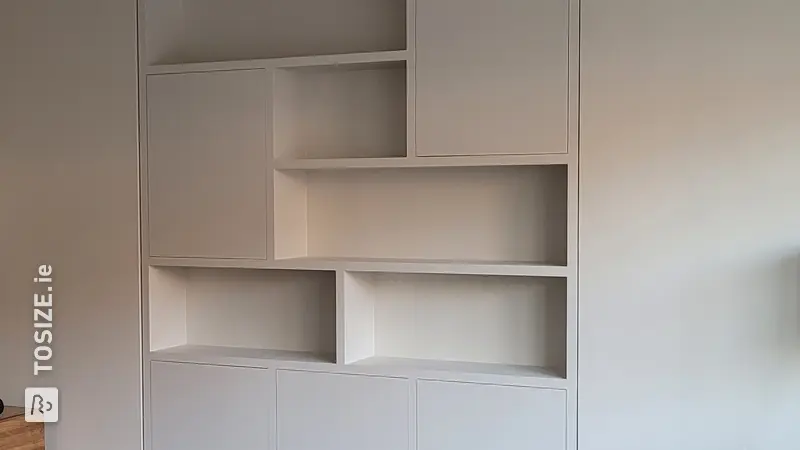
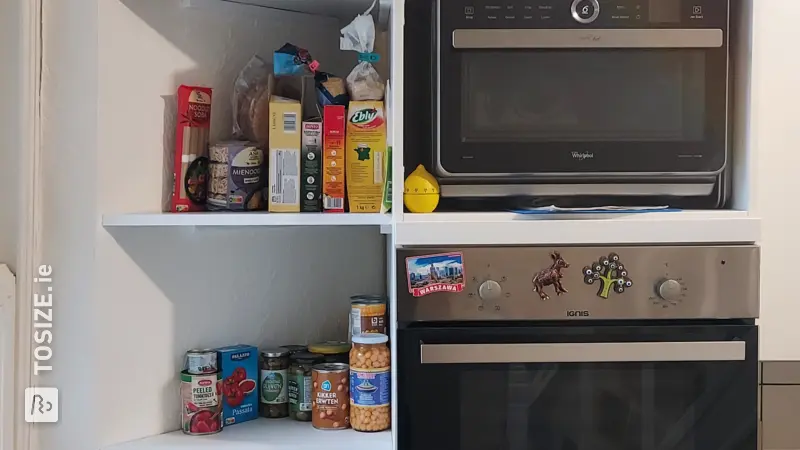
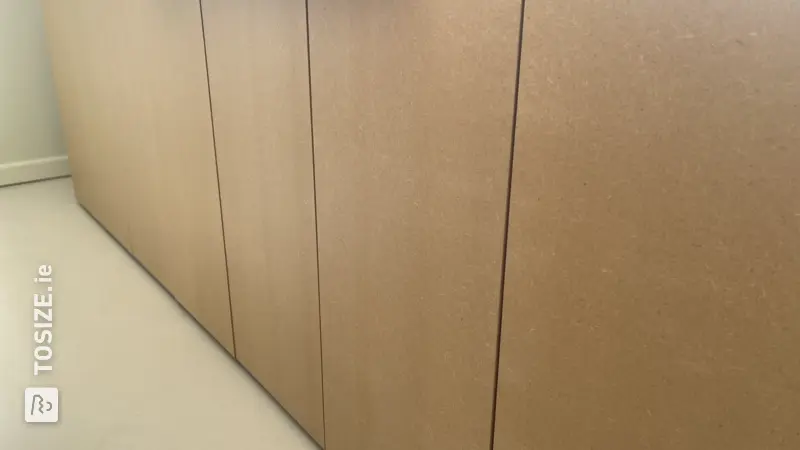
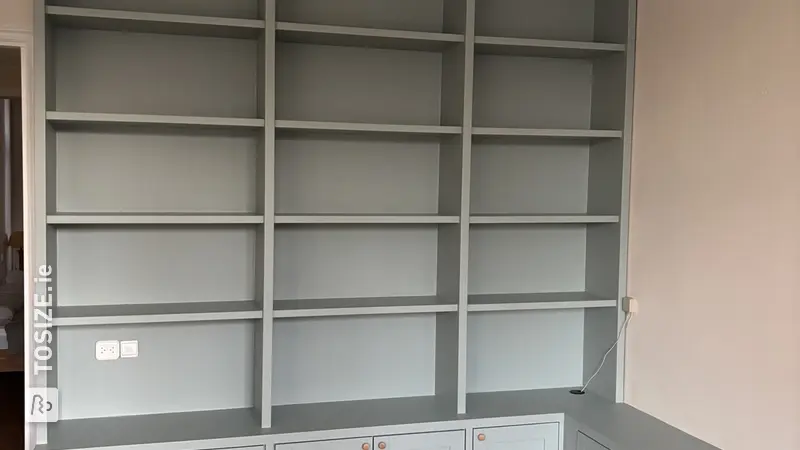
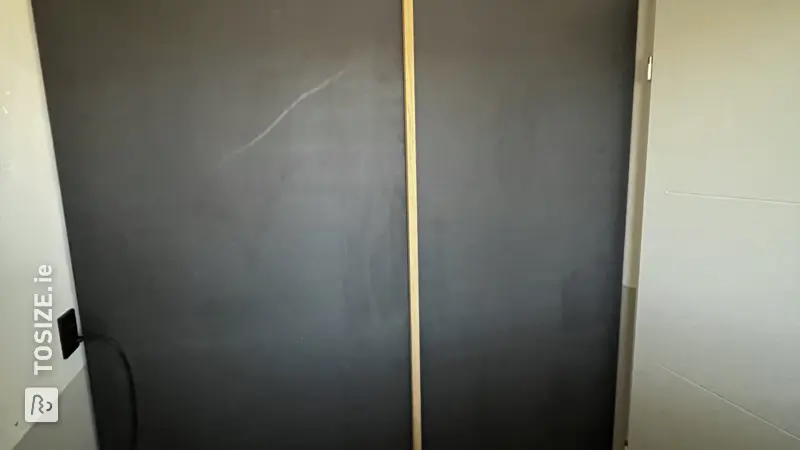
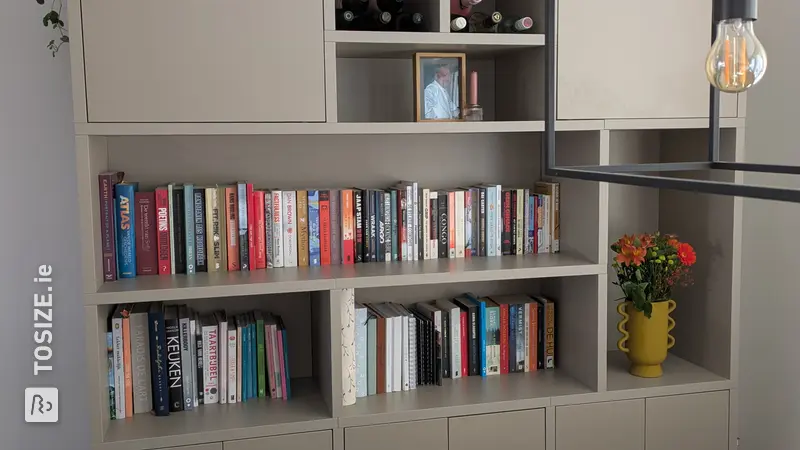
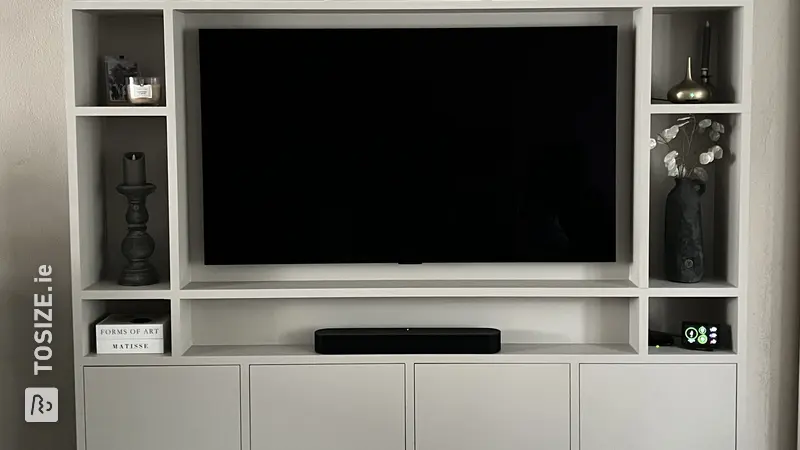
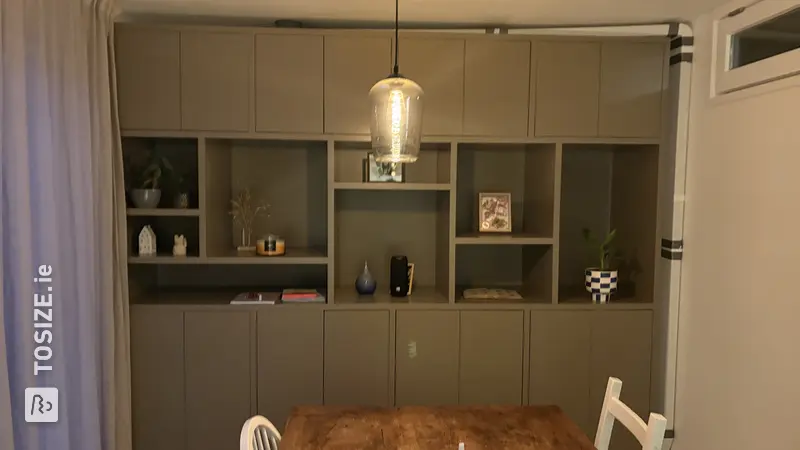
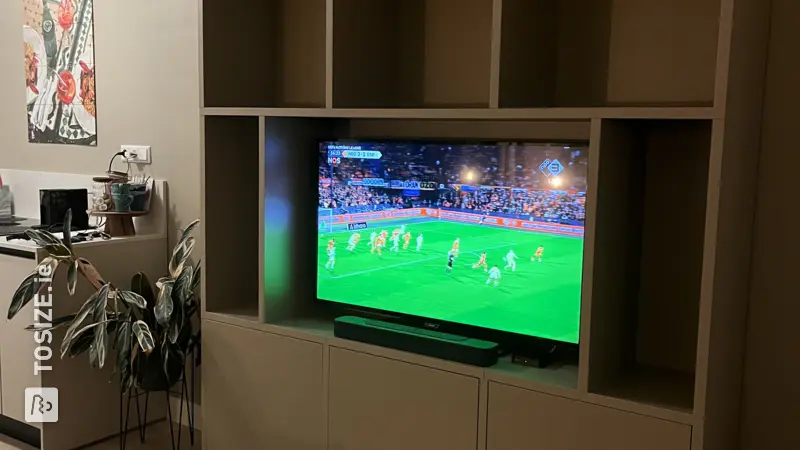
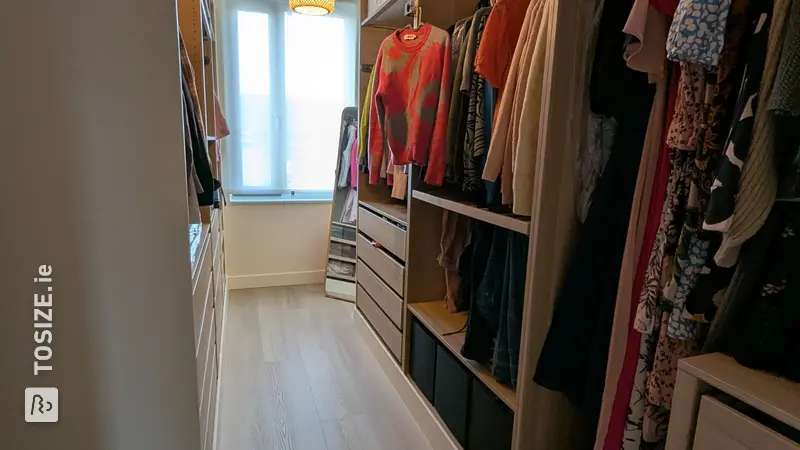
In our shed I made three shelves in the back and insulated the side walls and covered them with hardboard with holes so that tools can be hung.
How I made this project
First I measured the shed carefully and had the planks cut to size so that they would fit properly. I still had to cut a small corner for the post, which I did myself. I then attached iron supports to the existing posts at the same height on which I attached the beams. The planks were placed on top of this, the beams must ensure that everything does not sag too much. All in all, it is a sturdy construction and I think it looks quite nice. I put glass wool between the existing beams of the shed, which you can easily cut to the right size with a knife. I used hardboard with holes to cover it. These were shortened slightly so that two of them fit exactly in terms of height. I am going to attach a slat to this to hang the heavier things, but light items can be hung directly on this. See the end result in the photos
Dimensions of my DIY project
The shelves are 190.0 cm wide and 39.0 cm deep. The side walls are 239.0 cm.
Tip! Also check out our handy DIY tips!
What now?
Want to make this DIY project? Check out Jelle's saw list and complete your order easily.
€ 402,85
View all sheet materials